Transforming a classic 1950s bungalow into a net-zero powerhouse is not about a random checklist of expensive upgrades; it’s about a strategic, system-level approach that prioritizes the building envelope first.
- Aggressive air sealing and attic insulation offer a far greater return on investment than new windows, forming the foundation of energy efficiency.
- Once the envelope is sealed, mechanical systems like your furnace and heat pump must be “right-sized” to match the new, lower heating demand.
Recommendation: Begin with a professional EnerGuide audit to establish a baseline, then focus relentlessly on air sealing and insulation before considering any other upgrades.
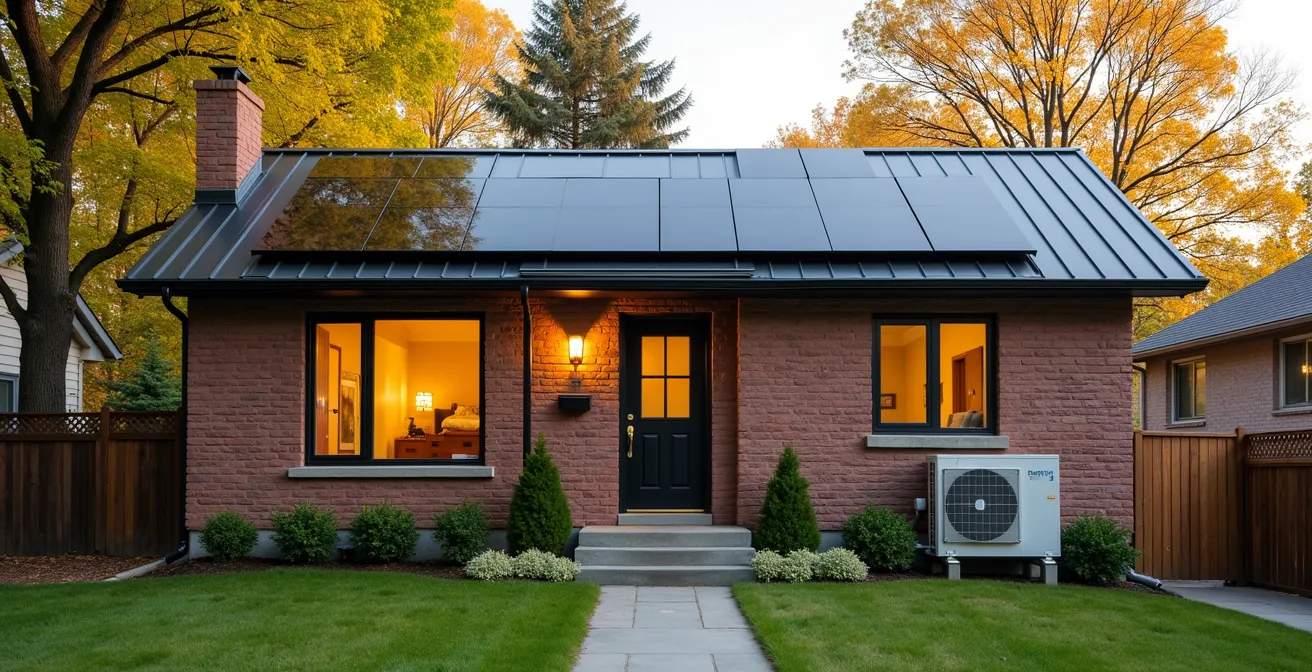
The charm of a 1950s Canadian bungalow is undeniable. Solidly built, nestled in mature neighbourhoods, these homes represent a piece of our architectural history. Yet, beneath that charm often lies an energy sieve, a structure built in an era of cheap energy, with minimal insulation and countless air leaks. The ambition to transform one of these classic homes into a model of modern efficiency—a near net-zero building—can feel like a monumental and costly undertaking. Many homeowners immediately think of high-ticket items like solar panels or triple-pane windows, viewing the path to net-zero as a shopping list of expensive technologies.
This approach, however, often leads to wasted money and disappointing results. The conventional wisdom misses a fundamental truth that we, as green renovation specialists, see every day. The journey to net-zero is not about buying gadgets; it’s about intelligent, systemic thinking. It’s about understanding that a house is a system, where every component affects the others. The real secret to a successful and cost-effective deep energy retrofit lies in the *order of operations*.
But what if the most impactful upgrades weren’t the most expensive or glamorous? What if the key was to first make the house a fortress against the Canadian cold, focusing on the unseen details before ever touching the mechanical systems? This guide is built on that very principle: the “Envelope First” strategy. We will walk you through the critical sequence of decisions, from identifying hidden risks like asbestos to choosing the right retrofit strategy and, finally, capitalizing on the immense value you’ve created.
This article will provide a strategic roadmap, breaking down the process into logical, sequential steps. We will explore where to invest first for the quickest payback, why sealing the smallest cracks is more important than installing the biggest furnace, and how these upgrades translate directly into a higher home value and an unparalleled level of comfort. Follow along to see how your 1950s bungalow can become a blueprint for the future.
Summary: Your Roadmap to a Net-Zero Bungalow Renovation
- Which Upgrade Payback Period is Shorter: Windows or Attic Insulation?
- Why You Must Seal Air Leaks Before Adding Attic Insulation?
- How to Identify Vermiculite Insulation Containing Asbestos Before You Disturb It?
- Exterior vs. Interior Retrofit: Which is Better if You Live in the House?
- When to Downsize Your Furnace After a Major Insulation Retrofit?
- How the Interest-Free Loan Can Bridge the Gap Until the Grant Arrives?
- The Top 3 Upgrades That Boost Your EnerGuide Score the Fastest
- Does an EnerGuide Rating of 80 Increase Your Home’s Resale Value?
Which Upgrade Payback Period is Shorter: Windows or Attic Insulation?
When homeowners begin planning an energy-focused renovation, windows are often the first item on their list. They are visible, tangible, and heavily marketed as a key to efficiency. However, when we apply systemic thinking, a different picture emerges. For a typical 1950s bungalow, the payback period for attic insulation is dramatically shorter and the overall impact is far greater than that of new windows. Why? Because heat naturally rises, and a poorly insulated attic is like leaving the biggest door in your house wide open all winter.
Upgrading from a vintage R-10 insulation level to the modern Canadian code standard of R-60 can reduce your home’s total heat loss by a massive margin. This single upgrade is one of the most cost-effective investments you can make. It addresses the largest single area of heat loss in the building envelope. In contrast, while old windows are certainly inefficient, they represent a smaller total surface area. Replacing them is significantly more expensive per square foot, leading to a much longer payback period.
The key takeaway is to follow a payback hierarchy. Focus on the “big wins” first. The experience of homeowners who have successfully completed these projects is telling. For example, in a groundbreaking Edmonton net-zero retrofit, the core efficiency upgrades, including insulation, represented only 15% of the overall renovation cost. The bulk of the budget went to aesthetic improvements, proving that achieving profound energy efficiency doesn’t have to break the bank if you invest strategically. The real value is created by focusing on the building envelope, starting with the attic.
Why You Must Seal Air Leaks Before Adding Attic Insulation?
Here is a critical rule of the “Envelope First” approach: insulation only works if the air is still. Piling 24 inches of new insulation on top of a leaky attic floor is like wearing a thick winter parka but leaving it unzipped. The cold air will bypass the insulation, rendering it ineffective. This is why aggressive air sealing is the non-negotiable first step before adding a single batt of insulation. In a 1950s bungalow, decades of small construction gaps and penetrations create a “stack effect,” where warm indoor air is actively sucked up into the attic and replaced by cold outside air pulled in through the lower levels.
An energy advisor’s blower door test will quantify this leakage in Air Changes per Hour (ACH). A typical 1950s home might test at 6.0 ACH or higher. A strategic air sealing plan can slash this figure significantly. The goal is to reduce this leakage to a much more manageable level, with many retrofits achieving a target of from 6.0 ACH to under 3.0 ACH. This single effort dramatically reduces drafts, improves comfort, and allows your new insulation to perform at its maximum R-value.
Finding these leaks requires a detective’s eye. Common culprits in post-war bungalows include gaps around chimney chases, plumbing stacks, electrical wiring penetrations, and where partition walls meet the attic floor. Thermal imaging can reveal these hidden weak points, showing exactly where your heated air is escaping.
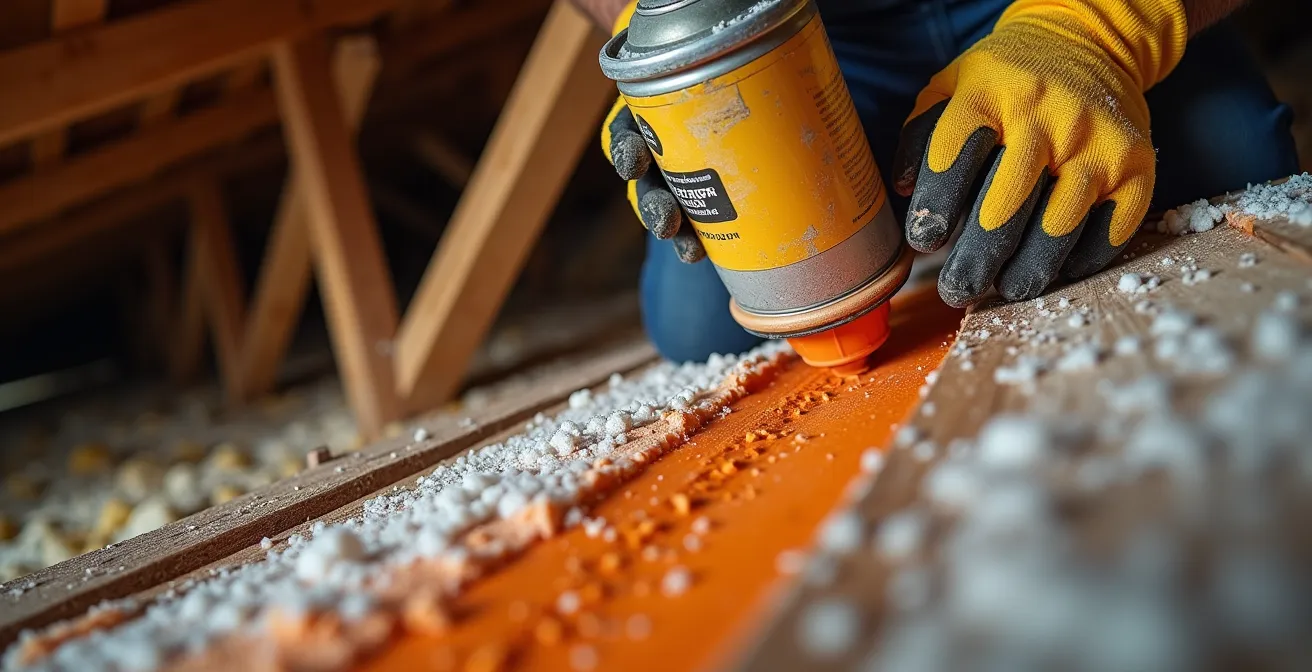
As the thermal image above illustrates, these leaks are often invisible to the naked eye but represent significant pathways for heat loss. Sealing them with appropriate materials like caulk, gaskets, and fire-rated spray foam is a low-cost, high-impact task that sets the stage for a truly effective insulation upgrade. It’s the foundational work that makes everything else possible.
How to Identify Vermiculite Insulation Containing Asbestos Before You Disturb It?
Before you or any contractor can begin the crucial work of air sealing and upgrading insulation in the attic of a 1950s bungalow, there is a major safety hazard that must be addressed: vermiculite. A significant portion of homes from this era in Canada contain this pebble-like insulation, and a large percentage of it, particularly that sold under the brand name Zonolite, is contaminated with asbestos. Disturbing this material can release harmful fibres into the air, posing a serious health risk.
Identifying potentially contaminated vermiculite is a visual process, but confirmation always requires professional testing. The material typically looks like small, grey-brown or silver-gold accordion-style pebbles. It is lightweight and will lay flat between the attic joists. Given that an estimated 46,000 bungalows were built during the 1950s-1960s in Canada, the odds of encountering this material are relatively high. The first and most important rule is: do not disturb it. Do not sweep it, vacuum it, or store items on it.
If you suspect its presence, you must treat it as if it contains asbestos until proven otherwise. This is not a DIY situation. The proper protocol involves contacting a certified asbestos abatement professional who can take samples safely and send them to a lab for analysis. If the tests come back positive, the material must be removed by a licensed abatement company following strict provincial guidelines, such as those set by WorkSafeBC or Ontario’s Ministry of Labour. This is a critical step in the strategic sequence; addressing this risk is paramount before any retrofit work can proceed in the attic.
Action Plan: Protocol for Handling Potential Vermiculite Insulation
- Assume it contains asbestos: Do not touch, sweep, or disturb any loose-fill, pebble-like insulation.
- Visual identification: Look for gray-brown or silver-gold granular material between the joists. Check for any old Zonolite-branded bags.
- Engage a professional: Contact a certified asbestos testing professional in your province to take samples for laboratory analysis.
- Verify contractor certification: If abatement is required, hire a contractor licensed for asbestos removal. Refer to your provincial body (e.g., WorkSafeBC, Ministry of Labour) for a list of certified professionals.
- Plan for removal: Incorporate the cost and timeline for professional asbestos abatement into your overall renovation budget and schedule before any other attic work begins.
Exterior vs. Interior Retrofit: Which is Better if You Live in the House?
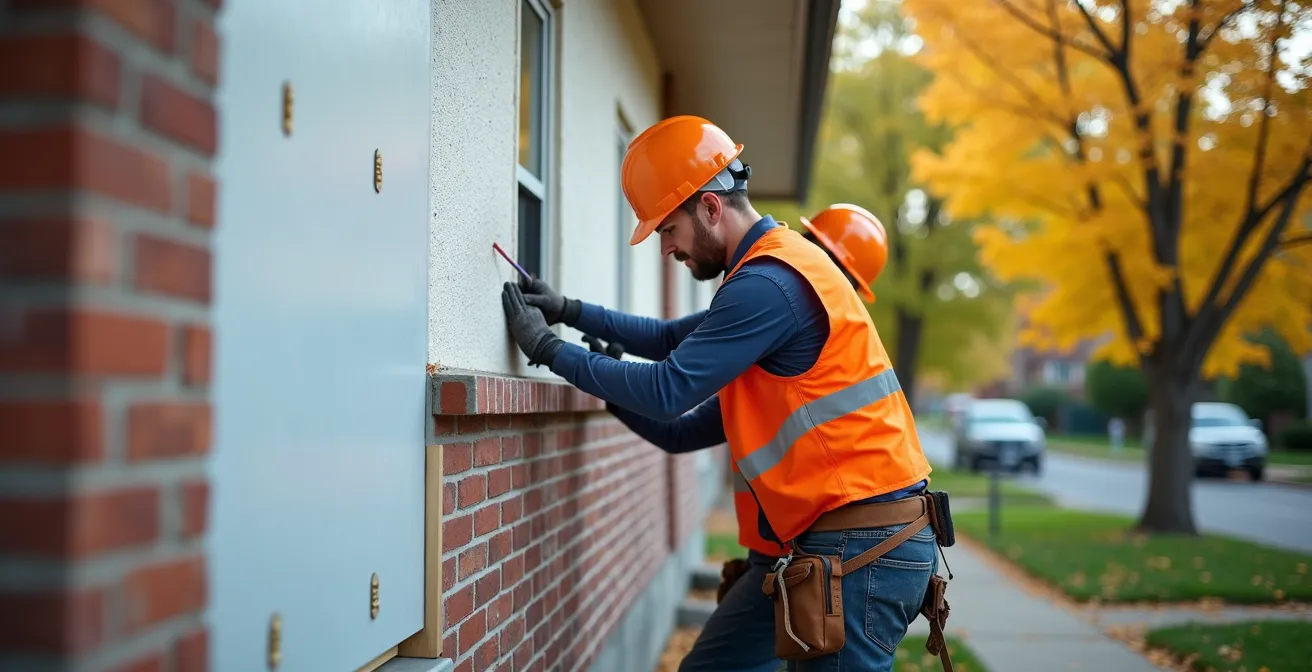
Once you’ve committed to a deep energy retrofit of your bungalow’s envelope, a major strategic decision arises: should you add insulation to the exterior or the interior of the walls? The answer has profound implications for thermal performance, cost, aesthetics, and, most importantly, the disruption to your daily life. If you plan to live in the house during the renovation, an exterior retrofit is almost always the superior choice.
This approach involves wrapping the entire house in a continuous layer of rigid foam insulation, creating a seamless thermal break. This is the most effective way to eliminate thermal bridging—the heat loss that occurs through the wood studs of the wall assembly. New weather-resistant barriers and siding are then installed over the insulation. The primary benefit is that all the work happens outside, leaving your interior living space untouched, clean, and habitable. In contrast, an interior retrofit requires stripping the walls down to the studs from the inside, a messy, disruptive process that forces relocation.
However, the choice isn’t always simple. An exterior retrofit will fundamentally change your home’s facade, which can be a concern in neighbourhoods with a strong heritage character. For instance, a Vancouver project chose a full interior retrofit of a 1950s bungalow specifically to preserve its original exterior appearance and blend in with the streetscape. The cost is also a factor, with exterior work often being more expensive, especially if the original cladding is brick.
The table below breaks down the key considerations for this critical decision. It highlights the trade-offs between the superior performance and minimal disruption of an exterior approach versus the heritage preservation and potentially lower cost of an interior one.
| Factor | Exterior Retrofit | Interior Retrofit |
|---|---|---|
| Thermal Performance | Superior – continuous thermal break | Good – thermal bridging at studs |
| Living Disruption | Minimal – work outside | Major – must relocate during work |
| Heritage Preservation | Alters original facade | Preserves original exterior |
| Basement Integration | Seamless foundation to wall | Difficult to achieve continuity |
| Cost (Brick Veneer) | $40-60/sq ft | $25-35/sq ft |
When to Downsize Your Furnace After a Major Insulation Retrofit?
This is where our “systemic thinking” truly pays off. After you have meticulously air-sealed and super-insulated your bungalow’s envelope, the house’s heating requirement—its “load”—will be drastically lower than before. The old, oversized furnace that was once necessary to battle drafts and heat loss is now a major liability. Running an oversized furnace is like trying to drive a monster truck through a quiet neighbourhood; it’s inefficient, noisy, and wears out quickly from constant short-cycling. The answer is to right-size your mechanical system after the envelope work is complete.
A new, properly calculated heat load analysis will almost certainly show that you can install a much smaller, more efficient heating system. This often means replacing an old natural gas furnace with a modern, cold-climate air-source heat pump. These systems are incredibly efficient and, in a super-insulated home, can provide all the heating and cooling needed, even in the depths of a Canadian winter. The Jesse Tufts net-zero bungalow retrofit in Edmonton is a perfect testament to this; after the retrofit, the home’s heating needs were fully met by a 12kW heat pump, which operated efficiently even at -25°C.
This strategic downsizing is a cornerstone of achieving near net-zero. It can lead to a staggering 50% reduction in energy bills, moving you from a major energy consumer to a highly efficient home. This transformation from depending on a large fossil-fuel-burning appliance to a smaller, electric-powered system is what makes producing your own energy with solar panels a feasible final step.
You can get to net zero with fairly standard construction methods and materials; you just have to build it right.
– Jesse Tufts, All Weather Windows R&D Engineer
How the Interest-Free Loan Can Bridge the Gap Until the Grant Arrives?
Financing a deep energy retrofit is a significant consideration for any homeowner. For several years, the Canada Greener Homes Initiative was a powerful tool, offering both grants for completed work and an interest-free loan to help finance the upfront costs. The loan was particularly valuable as it provided the capital needed to undertake major upgrades like insulation or heat pump installation, effectively “bridging the gap” until the reimbursement grant was issued upon completion and verification of the work.
This federal program provided a huge incentive for homeowners to pursue ambitious net-zero projects. By removing the barrier of high-interest financing, it made the payback calculations for these upgrades even more attractive. The loan allowed homeowners to proceed with the optimal strategic sequence of upgrades without being constrained by immediate cash flow, ensuring they could follow the “Envelope First” principle without compromise.
However, it is crucial for homeowners planning a project today to be aware of the program’s current status. Due to overwhelming demand, the federal Canada Greener Homes Initiative closed to new applications in February 2024. While this is a significant change, it does not mean financial support has vanished. Many provinces and even municipalities continue to offer their own robust rebate and incentive programs for energy efficiency upgrades. For example, programs like CleanBC in British Columbia or a variety of incentives offered through Enbridge Gas in Ontario still provide substantial financial support. The key is to research the specific programs available in your province and city, as these can still significantly reduce the net cost of your retrofit project.
The Top 3 Upgrades That Boost Your EnerGuide Score the Fastest
After an energy audit, your home receives an EnerGuide rating, a score in gigajoules per year that benchmarks its energy performance. Transforming a 1950s bungalow is a journey of dramatically improving this score, and some upgrades provide a much faster and more significant boost than others. Forget the small stuff; if you want to see a major leap in your rating and feel a real difference in your home’s comfort and energy bills, you must focus on the “big three.” These are the foundational pillars of the “Envelope First” strategy.
These three upgrades work together as a system to fundamentally change how your house performs. They form a powerful trifecta that addresses the most significant sources of energy loss in a vintage bungalow. In fact, Natural Resources Canada data shows that the combined impact of up to a 40% reduction in total heat loss can be achieved by tackling just air sealing and attic insulation. Here are the top three upgrades for the fastest EnerGuide score improvement:
- Aggressive Air Sealing: As we’ve stressed, this is job number one. Taking a home from a leaky 6.0 ACH@50Pa to a tight 3.0 ACH or less is the single most impactful step. This alone can boost your EnerGuide score by 10 to 20 points and is the prerequisite for effective insulation.
- Attic Insulation: The second heavy hitter. Moving from a negligible R-10 to the R-60 code standard is a massive leap. This directly combats the stack effect and can improve your score by a further 20 to 30 points, making it the highest-impact insulation upgrade.
- Basement Insulation: The uninsulated concrete foundation of a 1950s bungalow is a giant, year-round heat sink. Insulating the basement walls, either from the interior or exterior, eliminates this major source of heat loss and can significantly improve comfort and your overall score.
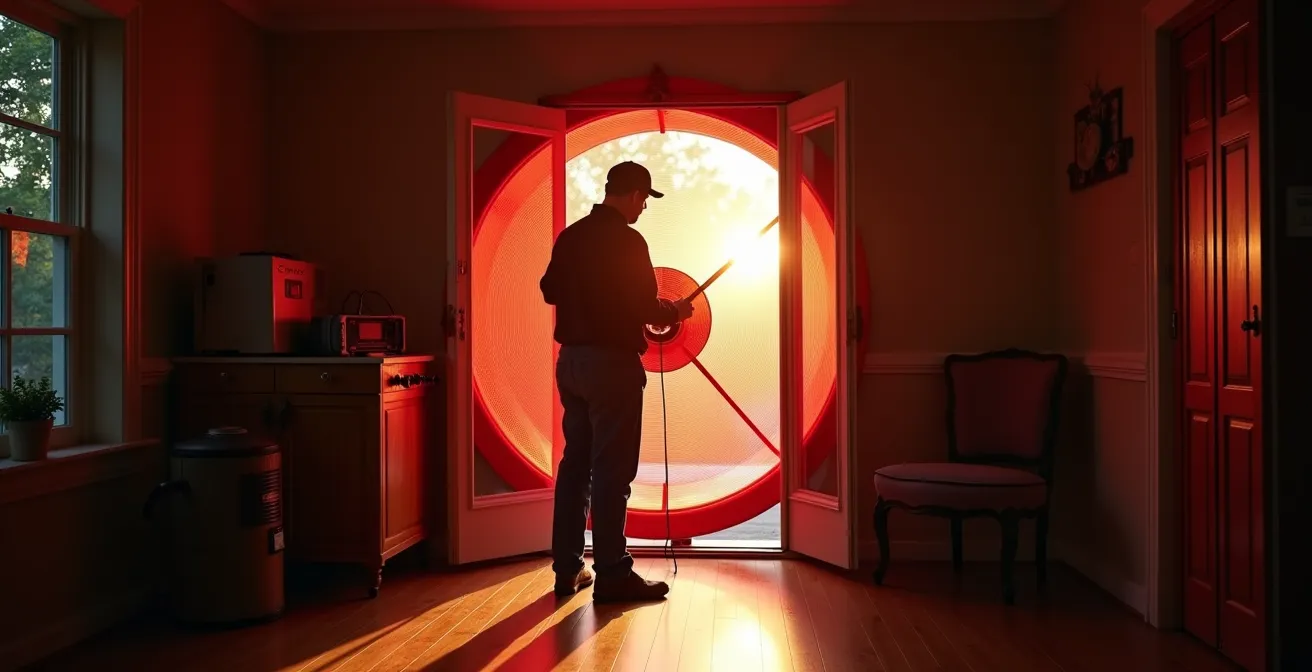
An energy advisor using a blower door, as seen here, is the first step in quantifying your starting point and the last step in verifying the incredible improvements made by focusing on these three core upgrades. They are the fastest path to a high-performance home.
Key Takeaways
- Systemic Thinking Over Checklists: A successful net-zero retrofit is a strategic sequence, not a random list of upgrades.
- Envelope First is Non-Negotiable: Aggressively air seal and super-insulate the building shell before ever considering mechanical system upgrades.
- Right-Size Your Systems: After improving the envelope, the home’s heating load will be drastically lower, requiring a smaller, more efficient HVAC system.
Does an EnerGuide Rating of 80 Increase Your Home’s Resale Value?
An EnerGuide rating of 80 or higher signifies a home that is exceptionally energy-efficient, often performing as well as or better than a brand new house. Achieving this in a 1950s bungalow is a remarkable feat, but does it translate to a higher resale value? The answer is an emphatic yes, though the value comes from several interconnected factors that savvy buyers increasingly appreciate.
First, there are the direct, quantifiable savings. A home this efficient can slash utility bills dramatically, with some homeowners seeing $1,500+ per year savings on heating costs alone. For a net-zero home, the owner may even receive credits from their utility provider. This predictable, low operating cost is a powerful selling feature that directly impacts affordability for the next owner.
Second, and perhaps more importantly, is the unparalleled level of comfort. A super-insulated, air-tight home is free of drafts, has consistent temperatures in every room, and is remarkably quiet. This superior living experience is something that cannot be easily replicated and sets the home apart in a competitive real estate market. It becomes a defining feature that buyers can feel the moment they walk in the door.
You don’t really notice a difference until you go to someone else’s house and you sit by a window and think, ‘This is cold and drafty’.
– Jesse Tufts, Maclean’s Magazine Interview
Ultimately, a deep energy retrofit is also a major renovation. The Tufts family’s Edmonton project, for example, added 450 sq ft and doubled the number of bedrooms. While the total cost was over $350,000, the combination of increased space, modern aesthetics, rock-bottom operating costs, and supreme comfort creates a value proposition far exceeding that of a standard, unrenovated bungalow. It’s not just an “efficient” home; it’s a better home in every measurable way, and the market will reward that comprehensive value.
Your 1950s bungalow holds incredible potential. By adopting a strategic, “Envelope First” approach, you can transform it from a charming but inefficient relic into a beacon of modern comfort and sustainability. The path to near net-zero is a journey of smart decisions, not just big spending. To begin your own transformation, the essential first step is to book an EnerGuide home evaluation with a certified energy advisor to establish your baseline and create a custom roadmap for your project.