
In summary:
- Treat the mandatory pre-retrofit audit as the strategic blueprint for your entire project, not a bureaucratic hurdle.
- Master the specific photo documentation rules to build an undeniable evidence package for your claim.
- Use the interest-free loan as a strategic cash-flow tool to bridge the gap between project costs and grant payout.
- Understand that different insulation locations (attic, walls, basement) have different grant maximums and coverage requirements.
- Translate abstract EnerGuide ratings into tangible dollar savings and increased home resale value.
The promise of a government grant of up to $5,000 to improve your home’s insulation is a powerful incentive for any Canadian homeowner. Yet, many are deterred by the seemingly complex web of rules, deadlines, and paperwork associated with the Canada Greener Homes Initiative. The common advice is to simply “follow the steps on the government website,” but this overlooks the nuances and common pitfalls that can lead to rejected claims or a smaller-than-expected rebate. Many homeowners find themselves lost in a maze of requirements, from energy audits to specific photo angles.
The truth is, securing this grant isn’t just about ticking boxes. It’s about understanding the system. The key isn’t simply following the rules, but grasping the strategic ‘why’ behind each one. Why is a pre-retrofit audit non-negotiable? Why are there such strict photo requirements? How can you manage the significant upfront costs while you wait months for the reimbursement? Thinking like a project manager, rather than just an applicant, is the secret to navigating the process smoothly and maximizing your financial return.
This guide moves beyond the official checklist to provide a strategic roadmap. We will deconstruct the process, revealing the logic behind each requirement. You’ll learn how to transform bureaucratic hurdles into strategic advantages, ensuring you not only qualify for the grant but also get every dollar you’re entitled to. We will cover everything from the crucial first audit to the final payout, empowering you to turn your energy-efficient renovation into a financial success.
text
To help you navigate this process effectively, this article is structured to walk you through each critical stage of the grant application. The following summary outlines the key milestones we will cover, from initial planning to realizing the full value of your investment.
Summary: Your Strategic Path to the Greener Homes Insulation Grant
- Why You Must Do a Pre-Retrofit Audit Before Buying a Single Roll of Insulation?
- Which Insulation Brands Are on the Approved List for Greener Homes?
- Photo Requirements: What Angles Must You Capture to Prove Installation?
- How the Interest-Free Loan Can Bridge the Gap Until the Grant Arrives?
- When Will You See the Money: Managing Expectations for Grant Payouts?
- How to Spot Energy Leaks with a Simple Candle Test on Windy Days?
- Gigajoules per Year: How to Translate Your EnerGuide Score into Dollars?
- Does an EnerGuide Rating of 80 Increase Your Home’s Resale Value?
Why You Must Do a Pre-Retrofit Audit Before Buying a Single Roll of Insulation?
Many homeowners view the mandatory pre-retrofit energy evaluation as just another administrative fee—a box to check for the government. This is a critical strategic error. The pre-retrofit audit is not a hurdle; it is the single most important investment in your entire Greener Homes project. It functions as the master blueprint that dictates every subsequent decision, validates your grant eligibility, and ultimately determines the financial success of your retrofit.
Think of it this way: the grant pays for the *improvement* you make. Without a professionally documented “before” picture, you have no way to prove the “after.” The energy advisor establishes your home’s baseline EnerGuide rating, identifying the precise areas of greatest heat loss. This isn’t just a suggestion; it’s a data-driven roadmap to maximizing your grant. The report will highlight which upgrades (e.g., attic vs. basement insulation) will provide the most significant energy savings, directly aligning your project with the program’s objectives.
Furthermore, proceeding without this initial audit automatically disqualifies you from the grant. Any work completed before the pre-retrofit evaluation is ineligible for reimbursement. The audit provides you with a Renovation Upgrade Report, which is your official guide. It outlines the recommended retrofits that will qualify for the grant, giving you the confidence to hire contractors and purchase materials knowing your plan is pre-approved by the system. In short, skipping or rushing this step is like building a house without a foundation—the entire structure of your grant application will collapse.
Which Insulation Brands Are on the Approved List for Greener Homes?
A common misconception among homeowners is that the Canada Greener Homes grant requires specific, pre-approved insulation *brands*. In reality, the program is brand-agnostic. Natural Resources Canada (NRCan) does not maintain a list of “approved brands.” Instead, eligibility is based on performance criteria and the type of material. The focus is on the total R-value achieved and ensuring the product is appropriate for the application (e.g., attic, exterior walls, basement).
Your goal is to increase the thermal resistance of your home’s building envelope. This means adding enough insulation to meet or exceed the recommended R-values outlined in your pre-retrofit evaluation report. The grant amount you can receive varies significantly based on where you install the insulation, as different areas have different impacts on overall heat loss. While an analysis suggests between 60-70% of Canadian homes now have adequate insulation, the program targets the remaining properties and those needing significant upgrades.
The key is to select a product that allows you to achieve the target R-value within your budget and physical space. Common eligible materials include fibreglass batts, mineral wool, blown-in cellulose, and spray foam. The following table breaks down the maximum grant amounts available for different insulation locations, highlighting the strategic importance of choosing where to upgrade.
| Insulation Location | Maximum Grant | Minimum Coverage Required | Key Requirements |
|---|---|---|---|
| Attic/Ceiling | $1,800 | 20% of total area | Must increase R-value from baseline |
| Exterior Walls | $5,000 | 20% of wall area | Excluding foundation walls |
| Basement Walls | $1,500 | 20% of foundation area | Can combine with crawlspace |
| Exposed Floor | $350 | 11 sq meters minimum | Floors above unheated spaces |
| Crawl Space | $1,300 | 100% of wall area | Maximum $1,500 if combined with basement |
As the table shows, insulating 100% of a crawl space wall could yield up to $1,300, while adding insulation to just 20% of your exterior walls could unlock the maximum $5,000 grant. This is why the pre-retrofit audit is so crucial—it helps you identify the most financially advantageous areas to target.
Photo Requirements: What Angles Must You Capture to Prove Installation?
The grant program’s photo requirements are not a mere formality; they are the cornerstone of your “evidence package.” Your photos are the primary proof that the work was completed as claimed, using the correct materials and achieving the specified depth. Failing to provide clear, comprehensive photographic evidence is one of the most common reasons for claim delays or rejections. You must think like an auditor and document every critical stage.
Your documentation must tell a complete story: what was there before, what products were used, how they were installed, and what the final result was. This includes clear shots of the product labels or bags to verify the material type, as well as photos of the installation in progress. Most importantly, you need to prove the new insulation depth. This means placing a ruler or measuring tape directly into the insulation at multiple points and taking clear, readable photos that show the measurement. For wall cavities, you must capture images before the drywall or siding is installed.
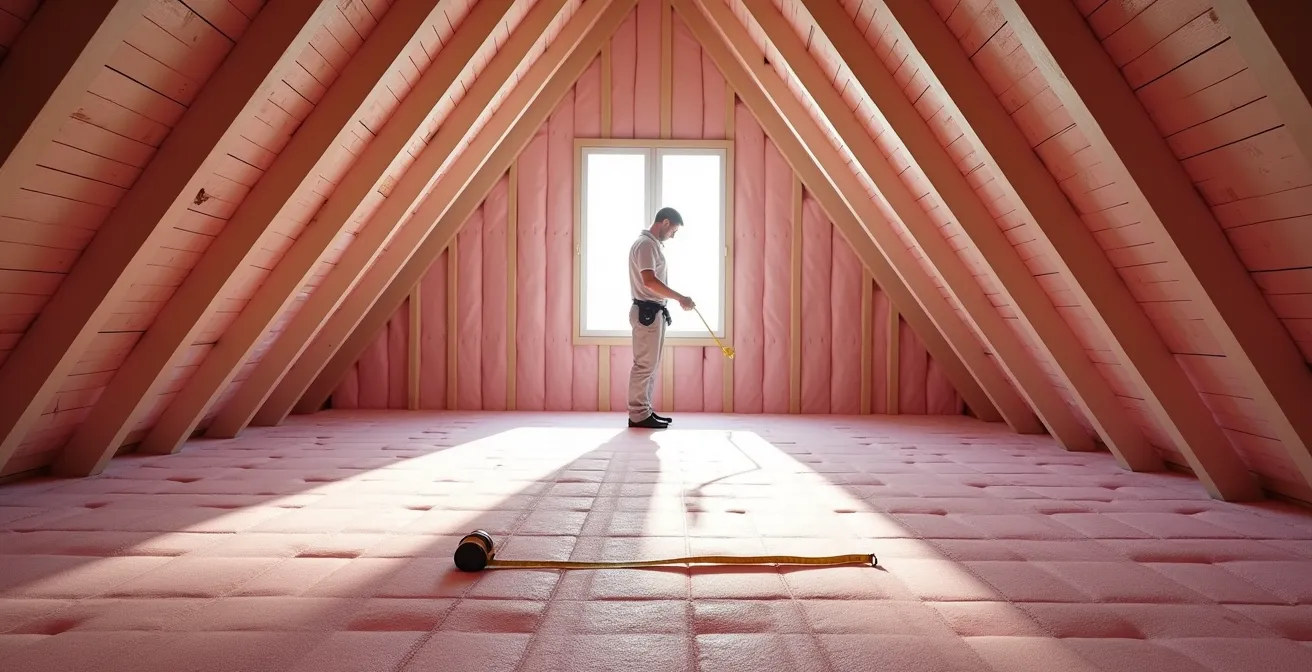
As the image above illustrates, documenting the process is a deliberate action. The final photos should provide a wide-angle view of the completed area, proving that the minimum coverage requirement (e.g., 20% of the attic) has been met. Your energy advisor cannot sign off on the work without this visual proof, so meticulous documentation is non-negotiable.
Your Essential Photo Documentation Plan
- Baseline Photos: Before starting, capture images of the existing insulation. Place a measuring tape or ruler in it to clearly show the starting depth at several locations.
- Product Verification: Take clear photographs of the insulation packaging (bags or rolls). Ensure the manufacturer, R-value, and material type are visible.
- In-Progress Shots: Document the installation at different stages (e.g., 25%, 50%, and 75% complete). For wall cavities, this means photos before they are sealed.
- Depth Confirmation: After installation, take multiple close-up photos of a ruler or measuring tape inserted into the new insulation to prove the final depth and achieved R-value.
- Coverage Proof: Capture wide-angle shots of the entire completed space (attic, basement walls) to demonstrate that the minimum area coverage (e.g., 20%) has been achieved.
How the Interest-Free Loan Can Bridge the Gap Until the Grant Arrives?
One of the biggest practical challenges of the Greener Homes Initiative is cash flow. Homeowners must pay for the entire retrofit—including two energy audits and all materials and labour—out of pocket, long before any grant money arrives. With major insulation projects potentially costing tens of thousands of dollars, this upfront financial burden can be a significant barrier. This is precisely where the Canada Greener Homes Loan becomes a powerful strategic tool.
Offered in partnership with the Canada Mortgage and Housing Corporation (CMHC), this program provides an interest-free loan of up to $40,000 to finance eligible retrofits. This loan is not just a form of debt; it’s a financial bridge designed specifically to cover the upfront costs. It allows you to undertake a comprehensive, high-impact retrofit now, without having to drain your savings or rely on high-interest credit. You can then use the grant money you receive later to pay down a portion of the loan balance.
The uptake for this loan has been substantial, demonstrating its value to homeowners. By January 2024, CMHC had received nearly 62,000 applications, with over 53,000 Canadians being approved. Data from February 2024 shows a $24,000 average loan amount, indicating that homeowners are using it to finance significant projects. Interestingly, 45% of these loans also included funding for heat pumps, showing that Canadians are bundling major retrofits to maximize their energy savings and grant potential. This makes the loan a key enabler for deep, impactful energy upgrades.
When Will You See the Money: Managing Expectations for Grant Payouts?
After you’ve completed the audits, done the work, and submitted all your documents, the final question is: when will the grant money actually arrive? It is crucial to set realistic expectations. The grant payment process is a multi-step procedure that requires patience and meticulous follow-through. It is not an instant rebate; it is a formal reimbursement process that can take several months from start to finish.
Once your post-retrofit evaluation is complete, your energy advisor has up to 30 days to submit the results and supporting documents to the NRCan portal. After you’ve uploaded all your paid invoices, you will eventually receive an email from NRCan confirming the grant amount. You must explicitly log in and click “Accept Payment” to initiate the final step. From that point, you should receive a cheque by mail within approximately 30 business days. However, the total timeline from the day the work is finished can easily stretch to 90 days or more.
The key is to be prepared for this waiting period, especially if you have used the interest-free loan to finance the project. Keeping all your documentation, including receipts and evaluation reports, is mandatory until March 31, 2028, in case of a random audit. While the wait can be long, the financial return is significant. According to program data from November 2024, successful applicants have received an average grant of $4,499 per household, confirming that those who navigate the process correctly are rewarded with a substantial rebate that is very close to the advertised maximum.
To ensure a smooth process, follow the payment steps carefully:
- Submit all paid receipts for retrofits and both evaluations via the Greener Homes portal.
- Allow 30 days after your post-retrofit evaluation for the service organization to submit the reports.
- Look for the funding decision email from NRCan and log in to “Accept Payment.”
- Expect the grant cheque to arrive by mail within 30 business days of your final acceptance.
How to Spot Energy Leaks with a Simple Candle Test on Windy Days?
Before you even schedule an energy audit, you can become a detective in your own home to identify potential problem areas. Air leakage, or drafts, can be a major source of heat loss, undermining the effectiveness of even the best insulation. A simple, low-tech method to visualize these leaks is the “smoke test,” which you can perform on a cold, windy day when the pressure difference between inside and outside (the “stack effect”) is greatest.
While a candle is often suggested, a safer and more effective tool is an incense stick. The continuous stream of smoke it produces is highly visible and won’t easily blow out. Carefully walk through your home and hold the lit incense stick near common sources of air leaks. These include:
- The frames of all windows and exterior doors.
- Electrical outlets and light switches on exterior walls.
- Junction points where baseboards meet the floor and walls meet the ceiling.
- Anywhere pipes, vents, or wiring penetrate the walls, floor, or ceiling.

As shown in the image, if you see the smoke trail waver, get pushed away, or get sucked towards a gap, you’ve found an air leak. Note these locations down on a simple floor plan of your house. This preliminary map will be incredibly valuable when your energy advisor conducts their professional blower door test, allowing you to point out specific areas of concern. For those wanting to go high-tech, some public libraries, including those in Toronto, Vancouver, and Halifax, even lend out thermal cameras that can make heat loss visually dramatic and easy to spot.
Gigajoules per Year: How to Translate Your EnerGuide Score into Dollars?
Your EnerGuide label can feel abstract, with its rating in “gigajoules per year” (GJ/year). What does that number actually mean for your wallet? A gigajoule is simply a unit of energy, like a litre of gasoline or a kilowatt-hour of electricity. The lower your GJ/year rating, the less energy your home consumes, and the lower your utility bills will be. Translating this into dollars is the key to understanding the real-world value of your insulation upgrade.
The impact is significant. Based on data from over 338,000 completed retrofits under the Greener Homes program, the results are clear. A recent progress update revealed that Canadian households undertaking these upgrades save an average of $386 annually on energy costs. This is a direct, tangible return on investment that you will see in your bank account year after year. Beyond the personal savings, the collective environmental impact is massive, with these retrofits reducing household emissions by an average of 1.92 tonnes per year.
The popularity of different retrofits varies by province, often influenced by climate and local energy costs. While heat pumps are the top retrofit in Ontario and British Columbia, insulation remains a foundational and highly effective upgrade nationwide. This table highlights regional trends and the scale of the initiative.
This provincial data provides context on the most popular upgrades across the country, as detailed in a comprehensive program progress update.
| Province | Top Retrofit | Number of Grants | Total Grant Value |
|---|---|---|---|
| Ontario | Heat Pumps | 142,767 | $649 million |
| Quebec | Windows/Doors | 35,227 | $153 million |
| British Columbia | Heat Pumps | 33,016 | $168 million |
| Alberta | Heat Pumps | 22,373 | $102 million |
| National Average | Insulation | 61,649 | Data varies by type |
Ultimately, every gigajoule you eliminate from your home’s energy consumption translates directly into cost savings. The EnerGuide rating is not just a number for the government; it’s a financial tool for you.
Key Takeaways
- The pre-retrofit audit is your strategic blueprint; it is the most critical investment for maximizing your grant.
- Mastering the specific photo documentation rules is non-negotiable for building an evidence package that ensures claim approval.
- The interest-free loan is a powerful cash-flow tool designed to bridge the financial gap between project costs and grant reimbursement.
Does an EnerGuide Rating of 80 Increase Your Home’s Resale Value?
While the immediate appeal of the Greener Homes grant is the upfront cash rebate and annual energy savings, a significant long-term benefit is the impact on your home’s resale value. In an increasingly energy-conscious market, a certified energy-efficient home is a premium asset. An official EnerGuide rating serves as a standardized, government-backed certificate of your home’s performance, making it a powerful marketing tool when it comes time to sell.
Think of an EnerGuide label like the fuel efficiency sticker on a car. It provides prospective buyers with a clear, reliable measure of a home’s expected energy costs. A high rating (a lower GJ/year score) signals a well-maintained, comfortable, and affordable home to run. Achieving a rating of 80 GJ/year or better places your home in a superior class, making it more attractive to savvy buyers who are looking beyond cosmetic features to total cost of ownership. This can lead to a higher selling price and a faster sale.
This investment also aligns with broader societal goals. As noted by Natural Resources Canada in a progress report, homes contribute 18% of Canada’s greenhouse gas emissions, making residential energy efficiency a critical part of the national climate strategy. By participating in the program, you are not just improving your home; you are contributing to a larger objective.
Homes contribute 18% of Canada’s greenhouse gas emissions.
– Natural Resources Canada, Canada Greener Homes Initiative Progress Report
Ultimately, the grant and your associated investment should be viewed as a capital improvement that pays dividends in three ways: immediate grant money, ongoing energy savings, and a long-term increase in your property’s market value and appeal.
By transforming your home into a certified energy-efficient property, you are making a smart financial decision for today and a strategic investment in its future value. The next logical step is to begin the process by finding a registered energy advisor in your area to schedule your pre-retrofit evaluation.