The real reason your house is cold isn’t just drafty windows; it’s the invisible physics of heat loss turning your home into a comfort-draining chimney.
- Your house naturally pulls cold air in at the bottom (basement) and pushes warm air out at the top (attic) through a process called the “Stack Effect”.
- Even in a warm room, your body loses heat to cold walls and floors, making you feel chilled no matter the thermostat setting.
Recommendation: Stop chasing small, obvious leaks. To solve the problem for good, you must air-seal the top and bottom of your house—specifically the attic access and basement rim joists—to disrupt these powerful forces.
We’ve all been there: huddled under a blanket in the living room, the thermostat defiantly set to 22°C, yet a persistent chill still hangs in the air. You’ve checked the windows, maybe even replaced them. You’ve put draft stoppers at the base of the doors. So why does your own home feel like it’s working against you, making cozy evenings a constant battle for warmth?
The common advice focuses on the obvious culprits, but these are often just symptoms of a much larger, invisible problem. The truth is, your house operates according to basic laws of physics that, if left unchecked, can turn it into a highly efficient machine for wasting heat and creating discomfort. This isn’t just about a small gap here or there; it’s about systemic heat loss driven by powerful, unseen forces.
But what if the key wasn’t just plugging visible holes, but understanding and defeating the invisible physics that make you cold? What if the solution wasn’t just more insulation, but a smarter, more strategic approach to creating a complete thermal barrier? This guide will move beyond the superficial fixes. We will explore the hidden dynamics at play in your home, from the ground up to the attic, and reveal why a holistic defence is the only way to reclaim your comfort, lower your heating bills, and finally make that thermostat setting mean something.
This article breaks down the core issues causing heat loss and provides a clear path to a warmer, more comfortable home. Explore the sections below to understand the science behind the chill and find actionable solutions.
Summary: How to Eliminate the Drafts That Make Your Living Room Unusable?
- Why Your Floors Are Cold Even With New Windows?
- How to Keep the Bedroom Above the Garage Warm All Night?
- Triple Pane vs. Double Pane with Film: Which Really Stops the Cold?
- The $50 Fix That Stops Huge Heat Loss Through Your Ceiling Access?
- When to Address Drafts: Why October is Too Late for Major Work?
- The Cold Wall Effect: Why Your Body Radiates Heat to Cold Surfaces?
- The Stack Effect: How Your House Acts Like a Chimney in Winter?
- Why 20°C Feels Colder in an Uninsulated House Than a Well-Sealed One?
Why Your Floors Are Cold Even With New Windows?
You’ve invested in new, energy-efficient windows, yet you still feel a persistent chill creeping across your living room floor. The culprit is often hidden directly below you, in the basement. The most significant and commonly overlooked source of cold floors is an uninsulated rim joist. This is the wooden perimeter of your house that sits on top of the concrete foundation wall. It represents a massive thermal bridge, directly exposing your floor structure to the frigid outside air.
In the harsh winters of places like Winnipeg, an unsealed rim joist acts as a superhighway for cold. Heat from your home is constantly drawn out through this weak point, forcing your furnace to work overtime. It’s not just about heat loss; this area allows drafts to infiltrate the floor cavities and seep up through baseboards and flooring. According to Natural Resources Canada’s official guide, up to 25% of a home’s total heat loss can occur through basements, with rim joists being a prime offender.
Another major contributor is cantilevered sections—areas of the floor that hang over the foundation, like bay windows or entire second-story sections. These are exposed to cold air from below and from the sides, making them incredibly difficult to keep warm. Without proper air sealing and insulation in these cavities, they become giant cooling fins attached to your house, making the floors above them perpetually cold.
How to Keep the Bedroom Above the Garage Warm All Night?
The bedroom above the garage is notoriously the coldest room in a Canadian house. It’s a space surrounded by unconditioned or poorly insulated areas on multiple sides: the cold garage below, an exterior wall, and often a roofline above. This creates a perfect storm for heat loss, leaving you to shiver through the night no matter how high you crank the heat. The fundamental problem is a failure of the thermal barrier between the garage and the living space.
Simply stuffing fiberglass batts into the ceiling cavity isn’t enough. Air is the real enemy here. Gaps around joists, wiring, and plumbing allow cold garage air to bypass the insulation entirely, rendering it ineffective. To solve this, you need a two-pronged approach: meticulous air sealing followed by high-performance insulation. Spray foam insulation is often the ideal solution in this scenario because it performs both functions at once, creating a monolithic, airtight barrier that stops cold air in its tracks and provides a high R-value.
As the image above illustrates, a proper thermal envelope completely separates the warm living space from the cold garage. This isn’t just about comfort; it’s a smart financial decision. Tackling these major weak points in your home’s insulation can lead to significant savings. In fact, data from the November 2024 Greener Homes Initiative progress report shows that the 61,649 Canadian households who upgraded their insulation saved an average of $386 annually on their energy bills.
Triple Pane vs. Double Pane with Film: Which Really Stops the Cold?
Windows are often blamed for drafts, and for good reason—they can be a major source of heat loss. But when it comes to upgrades, the choices can be confusing. Is it worth the significant investment for triple-pane windows, or can a simpler solution like adding insulating film to your existing double-pane windows suffice? The answer depends heavily on your budget, your DIY skills, and, most importantly, your Canadian climate zone.
The effectiveness of a window is measured by its R-value; the higher the R-value, the better it is at resisting heat flow. A standard double-pane window has a relatively low R-value. Adding a high-quality, professionally installed or carefully applied DIY window film can create an additional air gap, effectively boosting that R-value and reducing heat loss. It’s a cost-effective measure that can make a noticeable difference.
However, for those living in the coldest parts of Canada, like the Prairies or Northern regions, triple-pane windows are in a league of their own. The two air or gas-filled gaps (often with Argon or Krypton) provide a much more substantial thermal break. While the upfront cost is significantly higher, the long-term energy savings and dramatic improvement in comfort can justify the expense. They not only reduce heat loss but also virtually eliminate condensation and make the area near the window feel much warmer.
This comparative table breaks down the options to help you decide which solution is best suited for your home’s specific needs and location.
| Window Type | R-Value Range | Cost | Best For Climate Zone | Energy Savings |
|---|---|---|---|---|
| Double Pane | R-2 to R-3 | $$ | Zone 1 (Vancouver) | 15-20% |
| Double Pane + Film | R-3 to R-4 | (DIY) | Zone 1-2 | 20-25% |
| Triple Pane | R-5 to R-7 | $$$ | Zone 3 (Winnipeg) | 30-40% |
| Triple Pane + Argon | R-7 to R-8 | $$$$ | Zone 3-4 (Northern regions) | 35-45% |
The $50 Fix That Stops Huge Heat Loss Through Your Ceiling Access?
While you worry about windows and doors, one of the biggest sources of heat loss in your home might be a simple, uninsulated square in your ceiling: the attic hatch. An unsealed attic hatch is essentially a giant hole in your home’s thermal envelope. Warm, moist air from your living space flows directly into the cold attic, wasting enormous amounts of energy and potentially causing condensation and mold issues on the attic sheathing.
Many homeowners assume the insulation in the attic is enough, but if the hatch itself isn’t insulated and air-sealed, it completely undermines the effectiveness of the surrounding insulation. This single weak point can be responsible for a disproportionate amount of your heating bill. As Enbridge Gas reports, a typical home loses up to 40% of its energy costs through countless tiny cracks and gaps, and the attic hatch is one of the largest single “gaps” you can have.
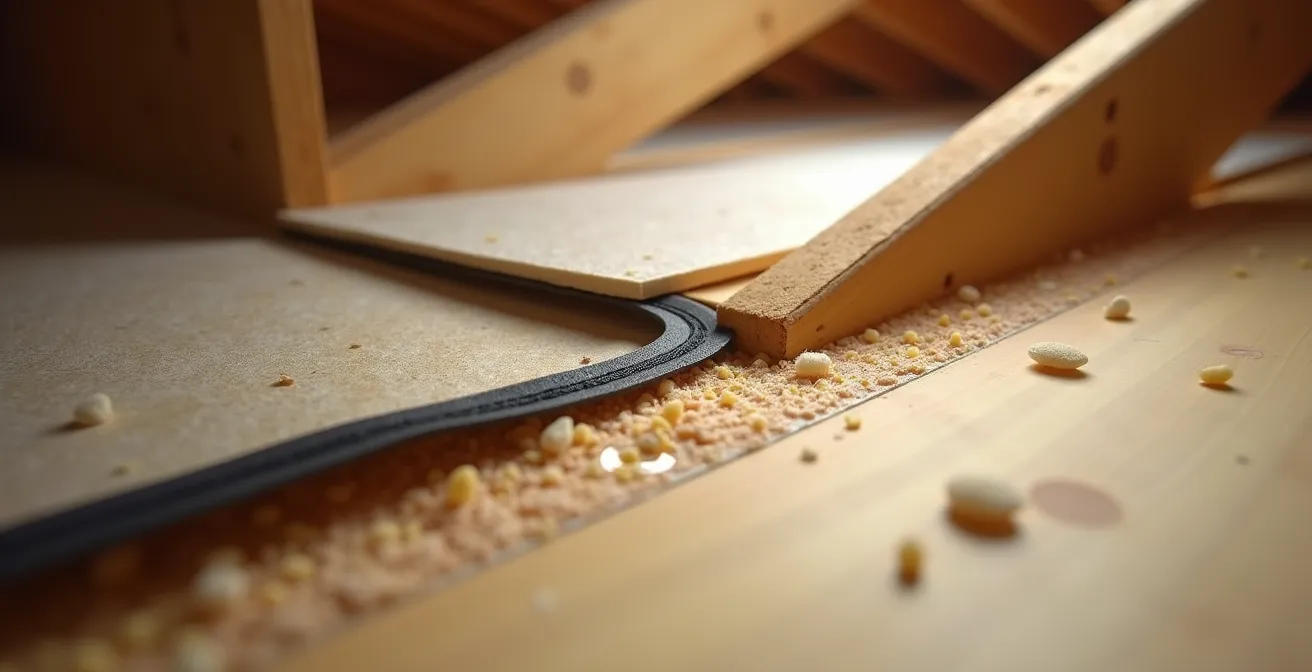
The good news is that this is one of the easiest and most cost-effective energy-saving projects you can tackle. For under $50 in materials from a local Canadian hardware store, you can build an insulated and airtight cover for your hatch that will pay for itself in energy savings in a single winter. It’s a small project with a massive impact on both your comfort and your wallet.
Your Action Plan: DIY Attic Hatch Insulation
- Purchase rigid XPS foam board (2-4 inches thick) from a Canadian hardware store.
- Cut the foam board to fit snugly on the back of your attic hatch, leaving about 1/4 inch of clearance around the edges.
- Apply construction adhesive to attach the foam board securely to the hatch door.
- Install adhesive-backed weatherstripping around the perimeter of the hatch opening on the ceiling side.
- Add a second layer of foam to the hatch if space permits to achieve an R-value of R-20 or higher.
- Ensure the hatch closes tightly, compressing the weatherstripping to create a perfect airtight seal.
When to Address Drafts: Why October is Too Late for Major Work?
When the first cold snap of autumn arrives, the sudden urgency to fix drafts sends homeowners scrambling. However, waiting until October to address major heat loss issues is often too late for effective action. The best time to plan and execute significant insulation and air-sealing projects is during the spring and summer months. By fall, the most reputable contractors are already booked solid, and exterior work becomes challenging as temperatures drop.
Planning ahead also allows you to take full advantage of valuable Canadian government programs. For instance, to qualify for grants like the Canada Greener Homes Initiative, you typically need to start with an EnerGuide home evaluation. This process takes time. Scheduling an evaluation in the winter or early spring gives you the report you need to get quotes from contractors and book the work for the summer. By November 2024, Natural Resources Canada reports that 338,904 households had completed retrofits with an average grant of $4,499—money you could miss out on by waiting too long.
A strategic, seasonal approach ensures you get the work done correctly, by a qualified professional, and with the maximum available financial support. Here is a practical timeline for Canadian homeowners:
- January-March: Research and schedule your EnerGuide home evaluation. This is the first step to accessing most grants and rebates.
- April-May: Receive and review your evaluation report. Use its recommendations to get detailed quotes from at least three different contractors.
- June-August: This is the prime season for major work. Complete any exterior projects like foundation sealing, window replacements, or major insulation upgrades.
- September: Finalize any remaining insulation work, such as attic top-ups, before the fall rush begins.
- October-November: Focus on smaller, DIY interior tasks. This is the perfect time for weatherstripping doors, sealing gaps around electrical outlets, and insulating the attic hatch.
- December: Enjoy a warmer, more comfortable home and monitor your energy bills to see the savings from your proactive efforts.
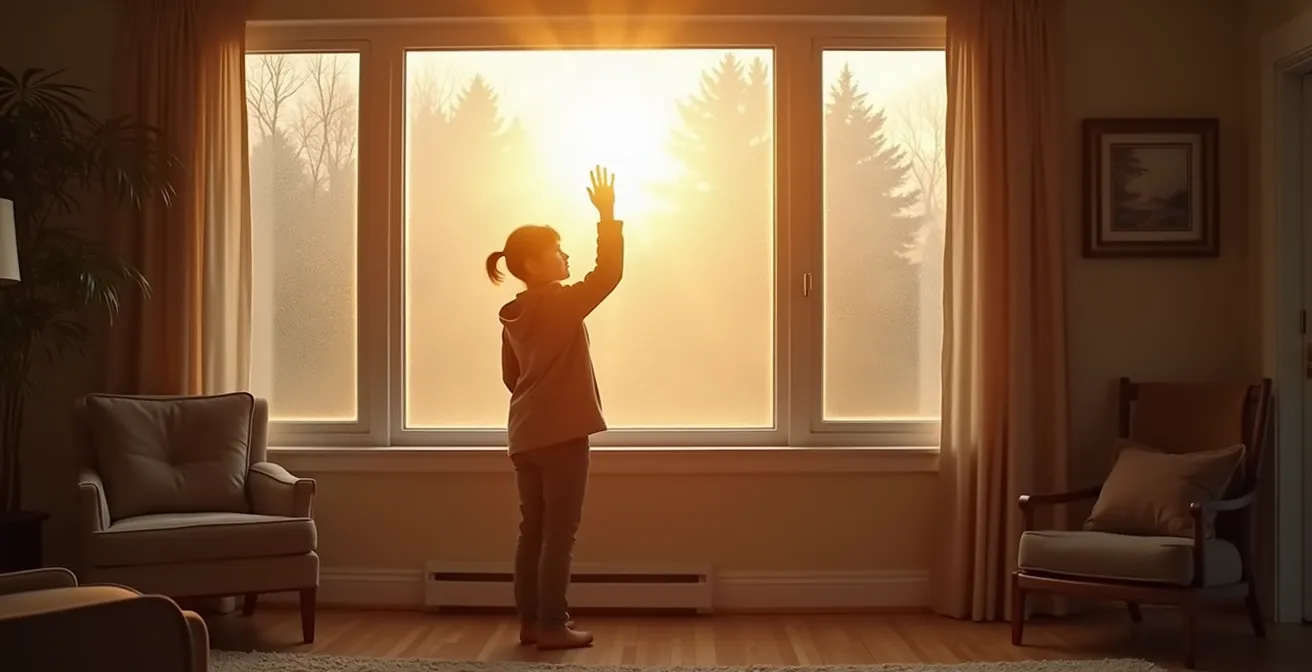
The Cold Wall Effect: Why Your Body Radiates Heat to Cold Surfaces?
Have you ever sat in a room that the thermostat claims is a comfortable 21°C, yet you feel an unshakeable chill? This baffling sensation is likely due to the Cold Wall Effect, a fundamental principle of thermal dynamics. Your body is like a small radiator, constantly emitting radiant heat. When you are in a room with warm walls, those surfaces radiate heat back to you, creating a feeling of balanced comfort. However, when you are near a poorly insulated exterior wall, your body’s heat radiates towards that cold surface, and you receive no warmth in return.
This one-way transfer of energy makes you feel cold, even if the air temperature in the room is technically warm. It’s not a draft; it’s your own body heat being actively pulled away from you. This is why you can feel a chill sitting near a large picture window or an uninsulated wall in the middle of winter. The surface is so cold that it acts like a thermal vacuum, sucking the warmth right out of you.
A home in Brampton that underwent a complete insulation upgrade serves as a perfect example. Before the retrofit, certain rooms were chronically uncomfortable due to this radiant heat loss. After injecting foam into the walls and upgrading the attic, the homeowners reported a remarkable transformation. The rooms now retained warmth, and the overall indoor climate felt consistent and pleasant because the interior wall surfaces were no longer cold enough to draw heat from their bodies. As Natural Resources Canada states in their “Keeping the Heat In” publication:
Proper design of the thermal barrier and installation of insulation is the key to a healthier, comfortable, and more affordable home.
– Natural Resources Canada, Keeping the Heat In publication
Solving this requires improving the R-value of your walls, ensuring the interior surface temperature stays closer to the room’s air temperature. This stops the radiant heat loss and allows your body to feel the true warmth of the room.
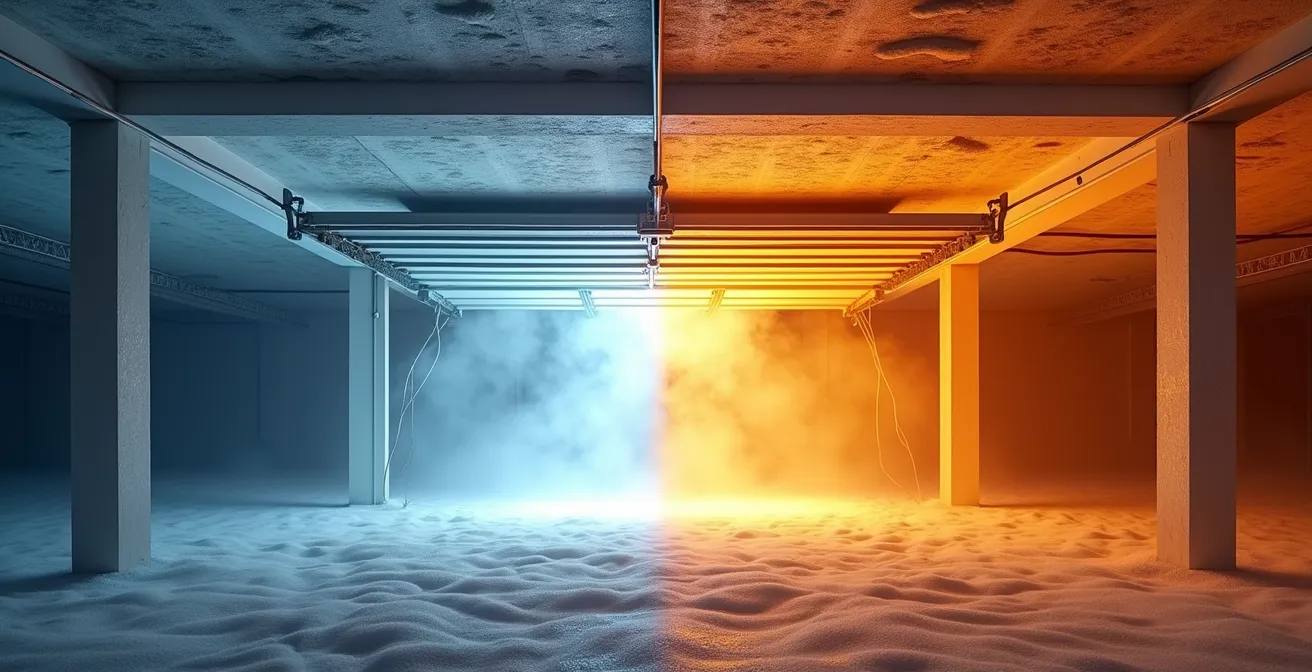
The Stack Effect: How Your House Acts Like a Chimney in Winter?
If you’ve ever wondered why your basement is drafty and your top floor seems to leak heat, the answer is a powerful force called the Stack Effect. In winter, your house behaves exactly like a chimney. Warm air, being lighter and more buoyant, rises. It escapes through any available opening in the upper levels of your home—the attic hatch, ceiling light fixtures, bathroom fans, and gaps at the top of walls. As this warm air exits, it creates a negative pressure in the lower levels of your home. This pressure difference acts like a vacuum, sucking cold outside air in through any crack and crevice it can find in your basement and main floor, primarily through the rim joists, foundation cracks, and poorly sealed windows.
This continuous cycle of rising warm air and incoming cold air is the single biggest driver of drafts and heat loss in many Canadian homes. It’s why sealing a window on the main floor might not solve your cold floor problem—the real issue is the “engine” of air movement created by the house itself. According to Natural Resources Canada, it’s estimated that 25-35% of a home’s heating energy can be lost to these air leaks driven by the stack effect.
The key to defeating the stack effect is to air seal the top and the bottom of your house. By sealing the leaks in the attic floor, you cap the chimney. By sealing the leaks in the basement, you shut off the air intake. You can even use the stack effect to your advantage to find your biggest leaks on a very cold day.
- Step 1: Choose a very cold, calm winter day (ideally below -15°C) when the stack effect is strongest.
- Step 2: Go to your basement. Any draft you feel is cold air being pulled IN. This is your priority intake leak.
- Step 3: Carefully check around rim joists, foundation cracks, and where utilities (pipes, wires) enter the house.
- Step 4: Now, move to your top floor or attic. Any draft you feel here is warm air escaping OUT. This is your priority exhaust leak.
- Step 5: Focus on the attic hatch, recessed pot lights, plumbing stacks, and the top plates of interior walls.
- Step 6: Mark all leak locations with tape or chalk for a systematic sealing plan, starting with the biggest gaps first.
Key Takeaways
- Your feeling of cold is caused by more than just air leaks; it’s driven by the physics of radiant heat loss and the “stack effect” turning your house into a chimney.
- To truly solve draft issues, you must prioritize air sealing over just adding insulation. Focus on the top (attic) and bottom (basement) of your house first.
- A holistic approach that creates a complete, continuous thermal barrier is the only way to achieve lasting comfort and significant energy savings.
Why 20°C Feels Colder in an Uninsulated House Than a Well-Sealed One?
The number on your thermostat is only one part of the comfort equation. The ultimate reason a 20°C room can feel frigid in one house and perfectly comfortable in another comes down to the combined impact of all the principles we’ve discussed: radiant heat loss and air movement. In a poorly sealed, under-insulated home, you are fighting a losing battle on two fronts. This is a widespread issue, as recent data reveals that between 5 and 6.7 million Canadian homes are under-insulated as of 2024.
First, the Cold Wall Effect is constantly pulling warmth from your body, making you feel chilled even if the air is warm. Your personal comfort is dictated as much by the temperature of the surfaces around you as it is by the air. Second, the relentless Stack Effect creates constant, subtle air movement. Even if it’s not a “howling gale,” this persistent micro-draft continually strips away the thin layer of warm air right next to your skin (your personal thermal boundary), leading to evaporative cooling.
In a well-sealed and properly insulated house, these two negative forces are neutralized. The interior walls and windows are warm, so they radiate heat back to you instead of stealing yours. With the “chimney” capped at the top and bottom, air movement is minimized, allowing you to exist in a pocket of still, comfortable air. The result is a profound difference in “felt” temperature. The 20°C on the thermostat finally feels like 20°C because your home is working with you, not against you. You’ve created a stable, comfortable indoor ecosystem.
By moving from chasing individual drafts to strategically building a complete thermal envelope, you can transform your home from a source of frustration into a true sanctuary of warmth and comfort, no matter how cold the Canadian winter gets. The next logical step is to conduct a self-audit or schedule a professional EnerGuide evaluation to identify the specific weak points in your home’s defences.