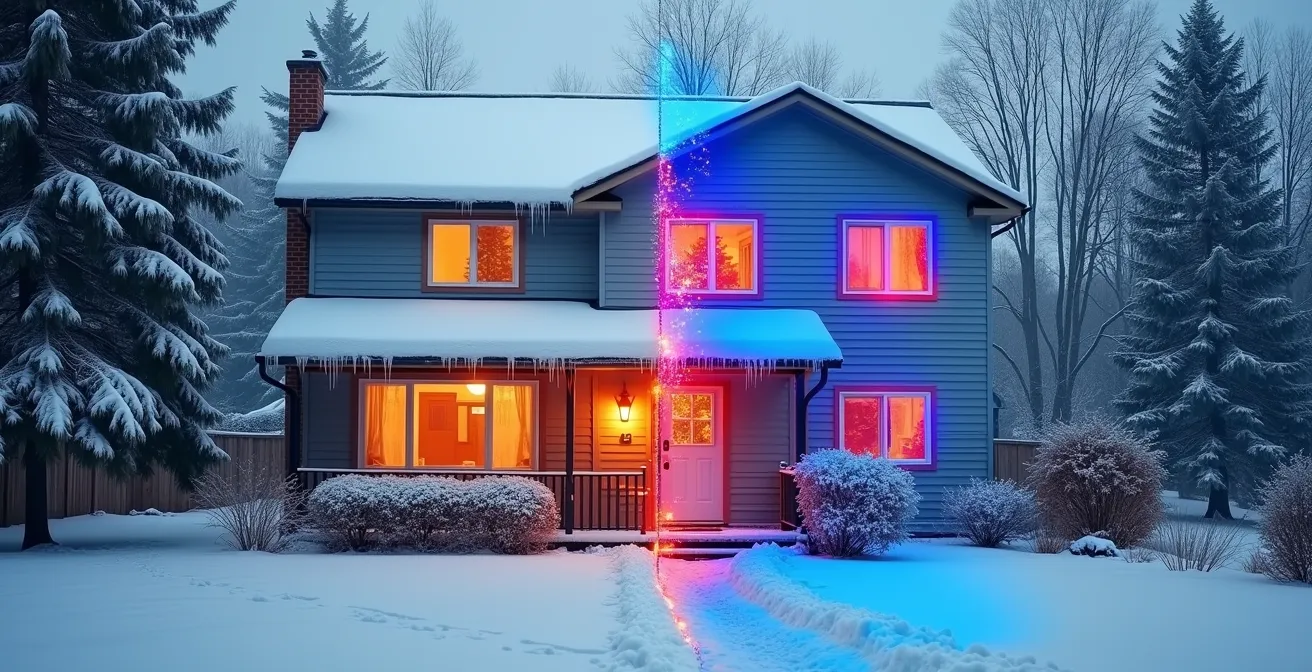
The frustrating truth behind your high heating bill isn’t the amount of insulation you have, but the misunderstood physics of how heat escapes your Canadian home.
- Even with R-60 insulation, hidden air currents (convection) inside your walls can slash your wall’s real-world performance.
- Heat-conducting materials like steel studs and uninsulated concrete (conduction) act as thermal highways, bypassing your insulation entirely.
Recommendation: Stop focusing only on R-value and start thinking like a physicist. Identify and disrupt these hidden paths of heat loss to truly lower your energy costs.
As a Canadian homeowner, you’ve followed the rules. You’ve dutifully piled R-60 insulation in your attic, sealed your windows, and maybe even upgraded your furnace. Yet, every winter, the same story unfolds: the furnace runs constantly, certain rooms feel inexplicably chilly, and the heating bill remains stubbornly high. It’s a common frustration that leads many to believe the only solution is even more insulation, a conclusion that often yields little result.
The conventional advice focuses on R-value, treating heat loss as a simple problem of thickness. But this overlooks the complex physics at play within your home’s structure. The real culprits are often invisible forces that bypass your expensive insulation entirely. This isn’t just about drafts; it’s about fundamental principles of heat transfer that are poorly addressed in standard construction.
But what if the key wasn’t adding more material, but understanding the mechanisms of heat movement? The true breakthrough comes from shifting your focus from simply resisting heat to controlling its three methods of travel: conduction, convection, and radiation. Your home isn’t a simple box; it’s a dynamic system where these three forces are in a constant battle with your comfort and your wallet.
This guide will move beyond the platitudes of “more insulation” and arm you with the knowledge of a building science expert. We will dissect each of these three heat transfer mechanisms, showing you exactly where they are secretly undermining your home’s efficiency and driving up your energy bills, even with a well-insulated attic.
To help you diagnose your home’s unique thermal challenges, this article breaks down the core principles of heat loss and where they occur. Explore the topics below to understand the science behind your energy consumption.
Summary: Uncovering the Real Sources of Home Heat Loss
- Why Cold Air Circulates Behind Your Drywall Even With Insulation?
- Radiant Barriers in the Attic: Do They Actually Work in Canada?
- Wood vs. Steel Studs: How Much More Heat Does Metal Conduct?
- U-Factor vs. R-Value: How to Read Window Energy Ratings?
- When Does Concrete Act as a Heat Sink vs. a Heat Bridge?
- The Stack Effect: How Your House Acts Like a Chimney in Winter?
- Why Your High-Efficiency Furnace Can’t Fix Drafty Wall Cavities?
- Why Your Heating Bill is High Even With R-60 in the Attic?
Why Cold Air Circulates Behind Your Drywall Even With Insulation?
This is the first major hidden energy thief: convection. You may have a wall cavity packed with insulation, but if there are even small air gaps, a destructive cycle begins. The air next to the warm interior drywall heats up, rises, travels to the cold exterior sheathing, cools, and sinks back down. This creates a continuous circular air current known as a convective loop.
This constant air movement actively transfers heat from the inside of your house to the outside, completely bypassing the insulation. It’s like having a tiny, invisible fan running inside your walls, working 24/7 to drain your heat. This phenomenon is a prime example of a thermal bypass, where the rated R-value of your insulation becomes irrelevant because heat has found an easier path. In fact, research shows that convective looping can result in a 20 to 50 percent increase in energy loss through a wall assembly.
As you can see in the visualization, the process is relentless. The insulation is present, but it isn’t stopping the heat transfer; it’s just sitting in the middle of a thermal whirlwind. This is why you might feel a persistent cold radiating from an exterior wall, even though you know it’s “insulated.” To truly stop this, the wall cavity must be completely filled with an insulation material that stops all air movement, like dense-packed cellulose or spray foam.
Your Action Plan: Detecting Convective Loops
- Use a non-contact infrared thermometer during extreme cold (-20°C or below).
- Scan interior walls systematically, focusing on areas near electrical boxes and plumbing penetrations.
- Document temperature variations—differences of 3°C or more indicate potential convective loops.
- Check for ‘cold stripes’ every 16 or 24 inches, indicating thermal bridging through studs.
- Pay special attention to corners and wall-ceiling junctions where air movement is often highest.
Radiant Barriers in the Attic: Do They Actually Work in Canada?
The second form of heat transfer is radiation. This is how the sun warms the earth or a fire warms your face, through electromagnetic waves. In a home, radiant barriers—typically shiny, foil-like sheets—are designed to reflect this radiant heat. In hot climates, they are installed in attics to reflect the sun’s heat out, reducing cooling costs. However, their effectiveness in a heating-dominated Canadian climate is highly debatable.
The primary issue is that radiant barriers are most effective when facing an air space and have a low-emissivity surface. While they can reflect summer heat, their winter performance is minimal. In winter, the primary goal is to stop heat from escaping your living space up into the attic. A thick blanket of conventional insulation (like cellulose or fiberglass) is far more effective at stopping conductive and convective heat flow. A radiant barrier on the attic floor adds very little insulating value in this direction. According to manufacturer data, some radiant barriers provide only R-1 in winter versus R-7 in summer.
Case Study: The Diminishing Returns of Radiant Barriers in Canada
Research conducted in Canada highlights another critical flaw: dust. Over time, a layer of dust accumulates on the upward-facing surface of a radiant barrier installed on an attic floor. This dust increases the material’s emissivity, effectively neutralizing its ability to reflect heat. The study found that while advertised cooling savings in hot climates are around 8-10%, this translates to only 4-5% annual savings in Canada, where the cooling season is much shorter. The conclusion was clear: for Canadian homes, the investment is almost always better spent on increasing the R-value of conventional insulation rather than adding a radiant barrier that quickly loses its effectiveness.
For a Canadian homeowner, this means prioritizing a thick, continuous layer of insulation and a perfect air seal at the ceiling plane. A radiant barrier is often a costly addition with a poor return on investment in our climate, where stopping conduction and convection is paramount.
Wood vs. Steel Studs: How Much More Heat Does Metal Conduct?
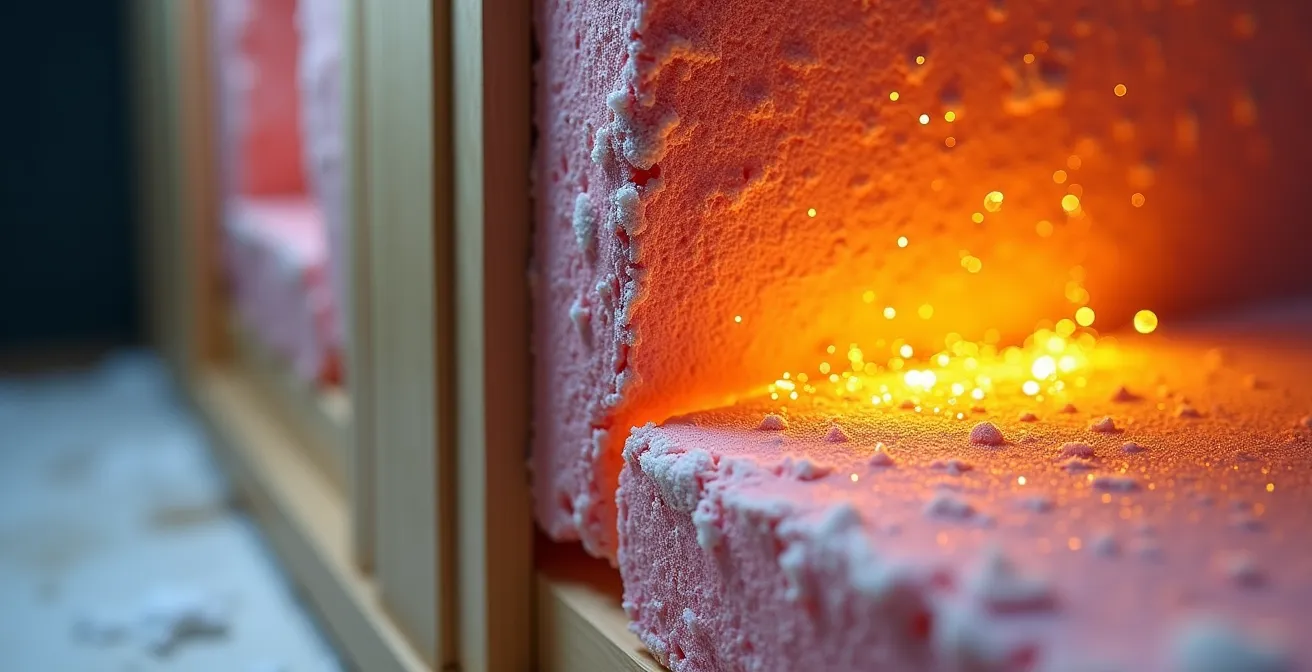
The third and most direct method of heat transfer is conduction—heat moving through solid materials. While we pack insulation between our wall studs, we often forget that the studs themselves form a bridge from the inside to the outside. This is called thermal bridging.
The material of your studs makes a monumental difference. Wood is a relatively poor conductor of heat. Steel, however, is an excellent one. Metal studs can conduct heat hundreds of times more efficiently than wood, creating superhighways for energy to escape your home. The insulation in the wall cavity is rendered significantly less effective because the heat simply bypasses it by traveling through the metal frame. This dramatically lowers the wall’s *effective R-value*—its real-world performance.
The impact is staggering. Building science research from RDH Laboratories shows that in a wall with metal studs, R-20 insulation becomes effective R-4. You are paying for high-performance insulation, but the steel framing reduces its effectiveness by 80%. This is one of the most significant and least-known sources of energy loss in modern construction, turning your walls into a grid of thermal weak points.
This table, based on data from building science studies, illustrates how severely thermal bridging through different framing materials can degrade the performance of your wall insulation. A continuous layer of exterior insulation is the most effective solution to “break” this thermal bridge.
| Wall Type | Cavity R-Value | Effective R-Value | Performance Loss |
|---|---|---|---|
| Wood Studs (2×6) | R-20 | R-15 | 25% |
| Steel Studs | R-20 | R-4 to R-9 | 55-80% |
| Wood + Exterior Foam | R-20 + R-5 | R-22 | 12% |
| Steel + Thermal Break | R-20 + R-10 | R-18 | 40% |
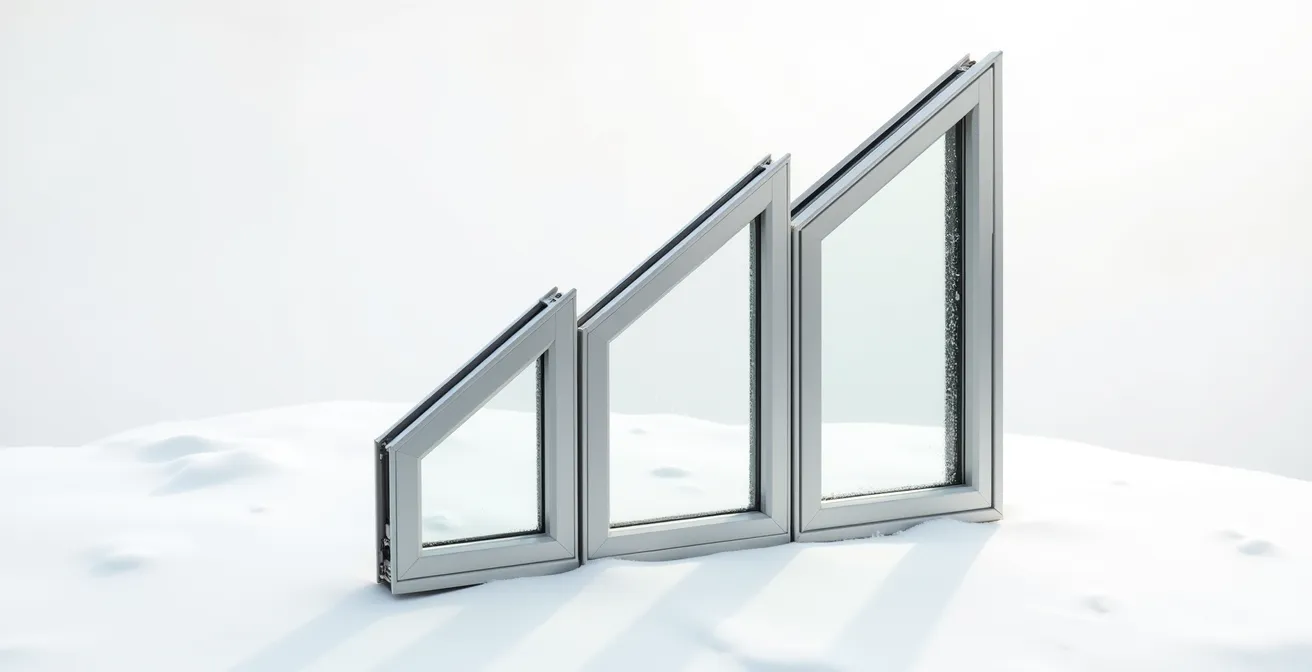
U-Factor vs. R-Value: How to Read Window Energy Ratings?
Windows are a classic weak point in a home’s thermal envelope, and understanding their energy labels is critical. While we’re used to thinking in R-value (resistance to heat flow), window performance in Canada is rated using U-factor (the rate of heat transfer). They are inverse concepts: a high R-value is good, while a low U-factor is good. For context, an R-20 wall has a U-factor of roughly 0.28 W/m²K, while a mediocre double-pane window might have a U-factor of 3.0—over ten times worse.
But the U-factor isn’t the whole story. Canadian window labels, managed by ENERGY STAR, also include two other critical ratings:
- Solar Heat Gain Coefficient (SHGC): This measures how much of the sun’s heat the window lets in. In a cold Canadian winter, a higher SHGC is desirable on south-facing windows to get “free” solar heating. In summer, you’d want a lower SHGC to reduce cooling costs.
- Energy Rating (ER): This unique Canadian metric combines U-factor, SHGC, and air leakage into a single number. A positive number indicates the window is likely to gain more energy than it loses over the course of a year, while a negative number indicates a net loss.
Choosing the right window is a balancing act that depends on your specific location in Canada. A window that is perfect for Vancouver’s mild, overcast winters (where minimizing heat loss with a low U-factor is key) may not be ideal for Calgary’s cold but sunny winters (where maximizing solar gain with a high SHGC is also important).
Action Plan: Choosing Windows for Your Canadian Climate Zone
- Zone 1 (e.g., Vancouver): Look for a U-factor of 1.60 W/m²K or less. A higher SHGC is acceptable to capture available sun.
- Zone 2 (e.g., Toronto, Montreal): Target a U-factor of 1.40 W/m²K or less. A balanced SHGC provides summer shade and winter gain.
- Zone 3 (e.g., Winnipeg, Calgary, Edmonton): Require a U-factor of 1.20 W/m²K or less. Maximize SHGC to take full advantage of passive solar heating.
- Verify the ER value: For most of Canada, a positive ER number is a strong indicator of a high-performance window.
- Check the gas fill: Argon is the minimum standard for double-pane windows; Krypton offers superior performance, especially in triple-pane units.
When Does Concrete Act as a Heat Sink vs. a Heat Bridge?
Your concrete foundation is another major player in the conduction game, but it behaves in two distinct ways. In some cases, it can be a heat sink, absorbing and storing heat. For example, a concrete slab floor exposed to winter sun can absorb that solar energy and radiate it back into the house after sundown, which is a benefit.
However, during a long, cold Canadian winter, an uninsulated basement wall or slab edge is not a heat sink; it’s a massive heat bridge. Concrete is an excellent conductor, and when it’s in direct contact with the frigid ground, it wicks heat out of your home relentlessly. Your furnace works hard to heat the air in the basement, and the concrete walls conduct that expensive heat directly into the frozen soil. Natural Resources Canada reports that uninsulated foundation walls can account for up to 20 percent of a home’s total heat loss.
This continuous heat loss creates cold interior surfaces, leading to discomfort and, more dangerously, condensation. When warm, moist indoor air comes into contact with the cold concrete surface, the moisture condenses, creating a perfect environment for mould and mildew growth. This not only damages your home but also poses a significant health risk.
Case Study: The Uninsulated Basements of Montreal
A comprehensive study of 1970s bungalows in Montreal provided a stark illustration of this problem. It revealed that their uninsulated concrete foundations were responsible for up to 30% of total home heat loss in winter. With an exterior temperature of -20°C, the interior surface of these basement walls measured a frigid 10°C, creating major comfort and condensation issues. The homes that retrofitted their foundations with R-20 rigid foam insulation not only saw their heating costs drop by 15-20% but also completely eliminated their moisture and mould problems.
The Stack Effect: How Your House Acts Like a Chimney in Winter?
Beyond the three modes of heat transfer, there’s a powerful force at work in your home that magnifies their impact: the stack effect. In winter, your house behaves exactly like a chimney. Warm, buoyant air rises to the top floors and attic. This creates a high-pressure zone at the top of the house, forcing warm air out through any available cracks or penetrations in the ceiling and attic.
Simultaneously, this upward movement of air creates a low-pressure zone in the lower levels of your house, like your basement and main floor. This negative pressure acts like a vacuum, sucking cold makeup air in from the outside through every tiny crack in your foundation, around window frames, and under doors. This is why basements and ground floors often feel so drafty in the winter. A typical home loses as much as 40 percent of its energy costs through these thousands of tiny cracks, driven by the stack effect.
This is why simply piling insulation in the attic (addressing the top) without sealing the leaks in the basement (the bottom) is an incomplete strategy. You’re plugging the top of the chimney but leaving the flue wide open at the bottom. The stack effect will continue to pull cold air in, making your furnace work overtime to heat it. A truly effective strategy requires a holistic approach to air sealing the entire building envelope, from the basement floor to the attic ceiling.
Stack Effect Air Sealing Priority Checklist
- Priority 1: Seal the top of your foundation walls (rim joists) with spray foam or rigid foam with sealed edges. This is where the house frame meets the concrete and is a major source of air intake.
- Priority 2: Address basement windows and door frames with high-quality weatherstripping and caulk.
- Priority 3: Seal all plumbing and electrical penetrations that run through floors, from the basement up to the attic.
- Priority 4: Install foam gaskets behind all electrical outlet and switch covers on exterior walls.
- Priority 5: Ensure your attic hatch is properly sealed with weatherstripping and insulated to the same level as the rest of the attic.
Why Your High-Efficiency Furnace Can’t Fix Drafty Wall Cavities?
Many homeowners invest in a new, high-efficiency furnace, expecting a dramatic drop in their heating bills, only to be disappointed. While a 96% AFUE (Annual Fuel Utilization Efficiency) furnace is excellent at converting fuel to heat, it cannot solve the problems of a leaky and poorly insulated house. It’s an issue of a fundamental system mismatch.
The furnace’s job is to generate heat efficiently; the building envelope’s job is to *keep* that heat inside. If your walls have convective loops, your foundation is a heat bridge, and the stack effect is pulling in cold air, your high-tech furnace is simply heating air that is escaping almost as fast as it’s produced. As one building science expert aptly put it:
A high-efficiency furnace in a leaky house is a classic Canadian ‘system mismatch’—a high-tech engine in a leaky boat.
– Building Science Expert, RDH Building Science Laboratories Study
A leaky house forces the furnace to run for longer cycles and more frequently to maintain the set temperature. This not only negates the fuel savings you expected but also puts extra wear and tear on the equipment, potentially shortening its lifespan. Comfort is also compromised, as the furnace’s powerful output is followed by rapid cooling, creating an unpleasant cycle of hot blasts and chilly drafts.
Case Study: The High-Tech Furnace in the Leaky Mississauga Home
A study in Mississauga, Ontario, tracked a home that had just installed a new 96% AFUE furnace but was still experiencing high bills and comfort complaints. An energy audit revealed severe air leakage and significant convective loops within the exterior walls. The homeowners then invested in comprehensive air sealing and had the wall cavities professionally insulated. The result? Despite using the same furnace, their heating costs dropped by 35%. Furthermore, the furnace’s total runtime decreased by 40%, significantly reducing equipment wear and finally delivering the comfortable, stable indoor temperature they had been seeking.
Key Takeaways
- Your home’s R-value is only as good as its weakest link; thermal bridges and air leaks can negate the value of thick insulation.
- Heat loss is a physics problem with three parts: stopping air movement (convection), blocking thermal bridges (conduction), and, to a lesser extent in Canada, reflecting heat (radiation).
- A holistic approach that treats the house as a complete system—from foundation to attic—is the only way to achieve significant, lasting energy savings and comfort.
Why Your Heating Bill is High Even With R-60 in the Attic?
We finally arrive at the central question. You’ve packed your attic with R-60 insulation, yet your bills are high. The reason is that you’ve only addressed one piece of a much larger puzzle. As we’ve seen, heat loss is a complex issue driven by conduction, convection, and radiation across your entire home. By over-insulating just the attic, you’ve effectively shifted the path of least resistance for heat loss to other, weaker areas.
Think of your house like a bucket with holes in it. Plugging the biggest hole (the attic) is a great start, but the water will now just flow out faster through the remaining holes—the uninsulated foundation, the thermally bridging walls, the leaky windows, and the countless cracks driven by the stack effect. As energy efficiency improves in one area, the percentage of heat loss through other, unimproved components actually increases. Natural Resources Canada’s 2024 Energy Fact Book reports $27 billion in annual savings from energy efficiency improvements, highlighting the massive potential when a *comprehensive* approach is taken.
This table clearly shows how focusing only on the attic shifts the burden of heat loss to other parts of the building envelope, like the walls and foundation, making them responsible for a larger percentage of your total energy bill.
| Building Component | Typical Heat Loss % | With R-60 Attic Only | Comprehensive Upgrade |
|---|---|---|---|
| Attic/Roof | 25-35% | 5-10% | 5% |
| Walls | 20-30% | 35-40% | 15% |
| Windows & Doors | 15-25% | 25-30% | 10% |
| Foundation | 15-20% | 20-25% | 10% |
| Air Leakage | 10-15% | 15-20% | 5% |
True energy efficiency and comfort can only be achieved by adopting the perspective of building envelope science. This means viewing your house as a single, interconnected system. It requires a strategic plan that addresses air leakage from top to bottom, provides a continuous thermal barrier on the exterior of the structure (or completely fills cavities), and specifies high-performance components like windows and doors suited for your climate zone.
By understanding these hidden forces, you can finally move from being a frustrated homeowner to an informed diagnostician, ready to make targeted improvements that deliver real, measurable results in both comfort and cost savings.