Adding R-60 insulation is not a simple weight calculation; it is a systemic structural event that tests your entire house.
- The added load doesn’t just sit on the trusses; it transfers through walls and can expose hidden weaknesses like dry rot or cracks in the foundation.
- Older Canadian homes, especially post-war builds, were constructed under different codes and may have been modified, compromising their original strength.
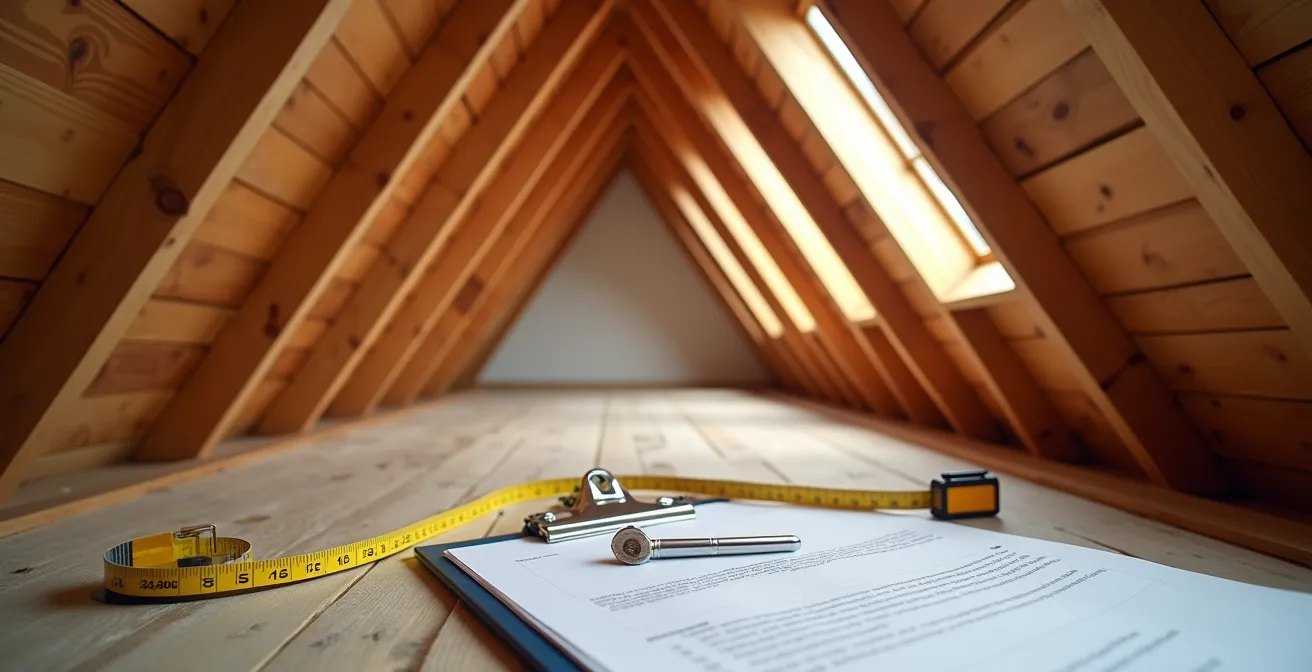
Recommendation: Before adding any significant insulation load, a structural assessment by a licensed Professional Engineer (P.Eng.) is the only way to ensure your home’s safety.
In the quest for a more energy-efficient home, especially facing the rigours of a Canadian winter, upgrading attic insulation to an R-60 value seems like a logical, even essential, step. The promise of lower heating bills and a cozier living space is compelling. Many homeowners approach this as a straightforward project: calculate the weight of the new cellulose or fibreglass, check a few online charts, and assume the roof trusses can handle it. This approach, however, overlooks a fundamental engineering principle.
From a structural standpoint, your house is not a collection of independent parts; it is an interconnected system. The forces you add to the attic do not magically vanish at the ceiling. They travel down a systemic load path—from the insulation, through the trusses and ceiling joists, down through the walls, and finally into the foundation and the ground beneath. Adding a significant new ‘dead load’ of R-60 insulation is like adding a new, permanent stress test to every component in that chain. The question is not just whether the trusses can hold the weight, but whether the entire structure can adapt without failure.
This reveals the critical flaw in focusing only on the trusses. The real risks often lie in the hidden deficiencies that the new load will expose: a stud weakened by unnoticed moisture, a wall removed during a past renovation, or a hairline crack in the foundation that signals a deeper issue. This guide is structured to walk you through a structural engineer’s diagnostic process. We will examine the interconnected risks that must be evaluated before you can confidently answer the question of whether your home is ready for an R-60 upgrade. It’s a process of forensic investigation, not simple math.
To provide a clear and methodical assessment, this article will explore the critical checkpoints throughout your home’s structure. The following sections detail the potential failure points an engineer investigates, ensuring a holistic understanding of the risks involved before proceeding with a major insulation project.
Summary: Can Your Roof Trusses Support the Weight of R-60 Blown-In Insulation?
- How to Spot Dry Rot in Studs Before You Cover Them with Spray Foam?
- Why Removing That “Small Wall” for Open Concept Compromises Your Second Floor?
- Hairline vs. Structural: Which Foundation Cracks Must Be Epoxied Before Finishing?
- The Danger of Insulating Behind Old Brick Veneer with Rusted Ties
- Engineer vs. Home Inspector: Who Can Sign Off on Structural Changes?
- Does Wet Cellulose Weigh Enough to Sag Your Drywall Ceiling?
- References vs. Reviews: Which One Reveals the True Quality of a Contractor?
- Can Your Roof Trusses Handle the Weight of R-60 Cellulose and Snow?
How to Spot Dry Rot in Studs Before You Cover Them with Spray Foam?
Before any insulation is added, the first step in a structural assessment is to evaluate the integrity of the existing wood frame. Dry rot is a silent and insidious threat, often hidden behind drywall or in dark attic corners. It is caused by fungi that digest the parts of the wood that give it strength and stiffness. The critical danger is that a stud or truss member can appear sound on the surface while being structurally compromised. In fact, research shows that wood affected by rot can lose over 50% of its structural capacity before any visible change is apparent.
The primary cause of this rot in Canadian homes is often not a major leak but persistent, low-level moisture. The Canada Mortgage and Housing Corporation (CMHC) consistently warns that condensation resulting from warm, moist air leaking from the house into a cold attic is a leading cause of structural decay. This slow, steady wetting of wood creates the perfect environment for rot to develop. Before covering studs with new insulation, a thorough inspection is non-negotiable.
Look for discolouration, a spongy or brittle texture when probed with a screwdriver, and a musty odour. Pay close attention to areas around bathroom vents, chimney stacks, and any penetrations in the ceiling. Covering active rot with spray foam or blown-in insulation is a catastrophic mistake. You are not only trapping the moisture but also hiding a structural failure in the making. The new insulation load will then be placed on a support system that may already be critically weakened. Treating the moisture source by air sealing is always the first and most important step.
Why Removing That “Small Wall” for Open Concept Compromises Your Second Floor?
A home’s structural history is just as important as its current condition. Renovations, particularly those aiming for an open-concept layout, are a major red flag during a pre-insulation assessment. The “small wall” that was removed from the main floor 15 years ago may have been a critical load-bearing element, and its absence creates a significant hidden deficiency. This is especially true for older Canadian homes; for instance, many Canadian post-war bungalows were built with simpler truss designs under older, less stringent versions of the National Building Code. These structures often relied on interior walls for supplemental support.
When a load-bearing wall is removed without the proper installation of a correctly sized beam and support columns, the load from the roof and second floor is redistributed to other parts of the structure that were not designed to carry it. This can lead to sagging floors, cracked drywall, and, most critically, over-stressed roof trusses. Adding the weight of R-60 insulation to this already compromised system can be the final straw that leads to failure.
The Fink or ‘W’ truss, common in Canadian residential construction as seen above, is an engineered system where every member is designed to be in either tension or compression. Removing a support wall below can alter these forces in unpredictable ways, potentially causing a truss chord to buckle or a joint to fail. An engineer must verify the entire load path to ensure that any past modifications have been properly compensated for before any new load is introduced from above.
Your Action Plan: Verifying Roof Load Capacity
- Request Plans: Obtain original building plans from your Canadian municipality’s planning department to find the roof’s original design live load.
- Identify Truss Type: Identify your truss type (the Fink or ‘W’ truss is common in Canada) and check for the presence of purlin braces and web stiffeners.
- Check for Modifications: Verify that no structural members in the attic have been cut, notched, or otherwise modified, and ensure the space has not been used for heavy storage.
- Calculate Total Load: Sum the existing insulation weight, the new R-60 weight, and the required National Building Code (NBC) snow load for your specific region.
- Consult an Engineer: If your home was built before the 1980s or has undergone significant renovations, consulting a Professional Engineer (P.Eng.) is a mandatory safety step.
Hairline vs. Structural: Which Foundation Cracks Must Be Epoxied Before Finishing?
Following the systemic load path, the forces from the newly insulated roof travel down the walls and are ultimately borne by the foundation. Therefore, a thorough foundation inspection is a critical part of any attic upgrade assessment. An overloaded roof, especially when combined with heavy Canadian snow and ice loads, can exert significant lateral pressure on the exterior walls. This pressure can manifest as new or worsening vertical or diagonal cracks in the foundation.
It is essential to distinguish between minor hairline cracks from concrete curing and active structural cracks. Structural cracks are often wider than a credit card, may run diagonally from corners, and often show signs of movement or water seepage. These are not merely cosmetic issues; they are symptoms of a house under stress. As noted by building science experts, the effect of an overloaded roof can be amplified in Canada due to frost heave cycles, which put additional seasonal stress on the foundation walls. The new attic insulation load adds a permanent, year-round pressure that can turn a stable crack into an active failure point.
Before finishing a basement or dismissing a crack as “normal,” it’s crucial to have it assessed by the right professional. A foundation repair company can inject epoxy and fix a leak, but they cannot diagnose if the crack is a symptom of a much larger problem originating at the roof level. Only a structural engineer can make that determination.
| Professional Type | Scope of Assessment | Legal Authority | Insurance Recognition |
|---|---|---|---|
| Foundation Specialist | Can repair visible cracks and waterproofing issues | Limited to repair recommendations | Covers repair work only |
| Professional Engineer (P.Eng.) | Diagnoses if crack is symptom of structural overload from roof | Provides legal structural solution and sign-off | Full insurance and legal weight for structural modifications |
The Danger of Insulating Behind Old Brick Veneer with Rusted Ties
The building envelope, particularly in older brick veneer homes common across Canada, presents another layer of complexity. Brick veneer is not typically a structural, load-bearing wall. It is an exterior cladding separated from the home’s wood frame by an air gap and held in place by metal brick ties. The structural integrity of this system depends entirely on the condition of those hidden ties.
Over decades, moisture in the wall cavity can cause these metal ties to rust and fail. When the ties are compromised, the brick wall can begin to bulge or pull away from the house, creating a significant instability. Adding a dense-pack insulation into this cavity can be dangerous for two reasons. First, the pressure of the installation can push on an already unstable wall. Second, and more critically, it changes the thermal and moisture dynamics of the wall assembly. This is not just a theoretical risk; it has legal implications.
Adding insulation changes the thermal profile, potentially creating condensation points on or behind the veneer. This is a direct violation of building codes (e.g., Ontario Building Code Section 9.25) if not managed with a proper air and vapour barrier.
– Nova Scotia Building Code Regulations, Nova Scotia Building Code User Version
Trapped moisture will accelerate the corrosion of remaining brick ties and can lead to mortar decay and spalling, especially during Canadian freeze-thaw cycles. Before insulating any wall cavity in a brick home, a thorough inspection of the building envelope is required. This includes checking for proper air and vapour barrier compliance with your provincial building code and verifying the integrity of the top plates where the roof trusses rest, just inside the veneer. Ignoring this can lead to costly damage and compromise the entire structure.
Engineer vs. Home Inspector: Who Can Sign Off on Structural Changes?
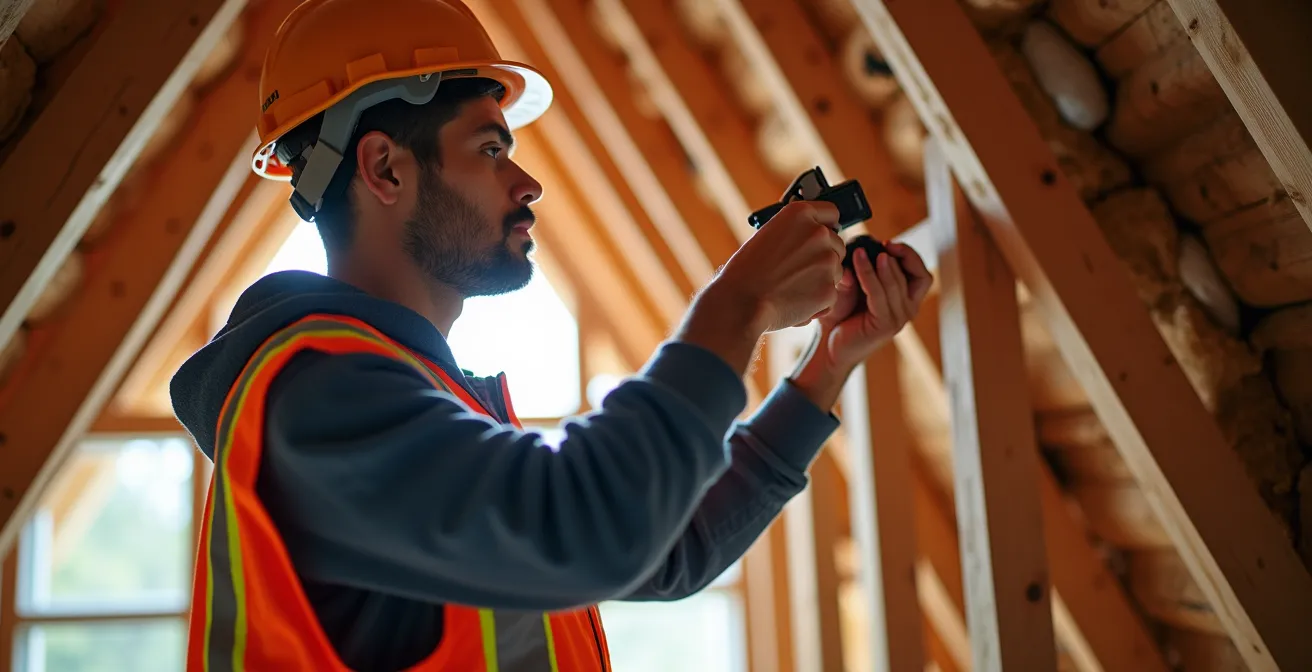
Throughout this diagnostic process, a critical question emerges: who is qualified to make these assessments? Homeowners often confuse the roles of a home inspector and a professional structural engineer (P.Eng.). The distinction is crucial, especially in Canada where the P.Eng. designation carries legal authority and accountability.
A home inspector’s role is to identify potential defects and issues based on a visual, non-invasive inspection. They can point out a crack in the foundation, a sagging roofline, or signs of moisture. However, they cannot, by law or training, determine the cause of the structural issue or design a solution. Their report is a list of observations and recommendations for further evaluation.
A Professional Engineer’s role is to perform a diagnosis. They use their knowledge of physics, building codes, and material science to determine *why* the crack exists or *why* the roof is sagging. Most importantly, a P.Eng. is legally empowered to design a remediation plan (e.g., a new beam, reinforced trusses) and sign off on the structural adequacy of a proposed change, like adding R-60 insulation. This sign-off is a legally binding document that is recognized by municipalities and insurance companies. This level of analysis is an investment; a structural engineer’s attic assessment in Canada typically costs between $500 and $1,500, a small price for ensuring your home’s safety.
Even programs like the now-closed Canada Greener Homes Grant, which used energy advisors to conduct home evaluations, placed the ultimate liability on the homeowner to ensure structural capacity. The advisor’s report was a guide for energy efficiency, not a structural guarantee. When load is being added, only a P.Eng. has the authority to give the green light.
Does Wet Cellulose Weigh Enough to Sag Your Drywall Ceiling?
Even if the trusses themselves can handle the dry weight of R-60 cellulose insulation (which is roughly 2.7 pounds per square foot), the analysis is incomplete without considering the risk of moisture. Cellulose is a wood-based product, and like a sponge, it absorbs water. A small, undetected roof leak or a persistent ice dam at the eaves can have a dramatic effect on its weight. In fact, a minor roof leak from an ice dam can saturate cellulose, increasing its weight 5-10 times.
This sudden, massive increase in weight is not borne by the trusses alone; it is transferred directly to the drywall ceiling below. Standard 1/2-inch drywall is not designed to support such a heavy, concentrated load. A ceiling that was perfectly safe under the dry load of insulation can suddenly be pushed past its failure point by a localized water issue, leading to severe sagging or catastrophic collapse.
The risk is a function of drywall thickness and the spacing of the joists or truss bottom chords it is attached to. A wider spacing provides less support and dramatically reduces the ceiling’s load-bearing capacity. The following table provides a clear picture of the risks involved, comparing the dry weight of R-60 insulation to the typical safe load limits of drywall ceilings.
| Drywall Thickness | Joist Spacing | Safe Load (psf) | R-60 Dry Weight | R-60 Saturated Risk |
|---|---|---|---|---|
| 1/2 inch | 16″ on center | 5 psf | ~2.7 psf | High failure risk |
| 1/2 inch | 24″ on center | 3.5 psf | ~2.7 psf | Very high failure risk |
| 5/8 inch | 16″ on center | 7 psf | ~2.7 psf | Moderate risk if wet |
| 5/8 inch | 24″ on center | 5 psf | ~2.7 psf | High risk if wet |
As the data clearly shows, while the dry weight of R-60 insulation is generally within safe limits, the potential weight when wet poses a very high risk of failure, especially for the common 1/2-inch drywall on 24-inch centers. This underscores the importance of a pristine roof and proper attic ventilation to prevent any moisture accumulation.
References vs. Reviews: Which One Reveals the True Quality of a Contractor?
Once a structural assessment is complete and you have a clear plan, the final risk factor is human: the contractor you hire to perform the work. In the digital age, it is tempting to rely on online reviews. A contractor with hundreds of 5-star Google ratings seems like a safe bet. However, from a risk management perspective, these reviews are often misleading.
Online reviews typically reflect customer service, punctuality, and the cosmetic appearance of the finished job. They rarely, if ever, speak to the contractor’s technical competence, understanding of building science, or, most importantly, their insurance coverage. A homeowner is not qualified to assess whether the insulation was installed in a way that blocks ventilation soffits or creates a fire hazard around electrical fixtures. They only see a clean attic at the end of the day.
A prudent engineer’s advice is to prioritize verifiable credentials over public praise. The most revealing questions to ask a contractor are not about their star rating, but about their experience with projects of a similar structural complexity. Ask for references from past clients where structural modifications or complex insulation work was involved. Then, call those references. More importantly, demand proof of both liability insurance and Workplace Safety and Insurance Board (WSIB/WCB) coverage. This documentation protects you if a worker is injured or if their work causes damage to your property.
A 5-star Google Review is meaningless if the contractor causes a ceiling collapse and has no insurance.
– Building Science Expert Advisory
Key Takeaways
- A home is a system: Adding weight to the attic stresses every component down to the foundation, not just the trusses.
- Hidden deficiencies are the biggest risk: Pre-existing issues like rot, removed walls, or rusted brick ties in older homes are what fail under new loads.
- Only a P.Eng. can provide a structural guarantee: In Canada, a Professional Engineer is the only professional legally authorized to sign off on structural capacity and modifications.
Can Your Roof Trusses Handle the Weight of R-60 Cellulose and Snow?
After a comprehensive inspection of the entire structural system—from the wood’s condition to the foundation’s integrity and the building’s history—we can finally return to the primary question. The total load on your roof trusses is a combination of three factors: the ‘dead load’ of the building materials (including existing and new insulation), and the ‘live load’ of snow and ice, which is highly variable and location-dependent.
The National Building Code of Canada (NBC) provides specific 1-in-50-year snow load values for different municipalities. This represents the maximum snow load that a roof is likely to experience over a 50-year period, and it is the value engineers use for design. As the table below illustrates, this value varies dramatically across the country, making a one-size-fits-all answer impossible. A roof structure that is perfectly adequate in Vancouver could be dangerously under-designed for the loads it would face in Montreal or St. John’s.
| City | Snow Load (psf) | R-60 Weight (psf) | Total Load (psf) | Risk Level for Standard Trusses |
|---|---|---|---|---|
| Vancouver | ~30 | 2.7 | 32.7 | Low-Moderate |
| Calgary | ~35 | 2.7 | 37.7 | Moderate |
| Toronto | ~40 | 2.7 | 42.7 | Moderate-High |
| Montreal | ~55 | 2.7 | 57.7 | High |
| St. John’s | ~70 | 2.7 | 72.7 | Very High |
Furthermore, these values do not account for localized load concentrations like ice dams. As noted by the CMHC, a foot-deep ice dam can add 50-60 pounds per linear foot at the eaves, creating intense point loads that can overstress individual trusses or the roof sheathing. As the data shows, the ‘dead load’ of the insulation itself is often a small fraction of the total load the roof must withstand during a Canadian winter. This is why a simple weight calculation is insufficient and potentially dangerous.
Ultimately, ensuring your home can safely support an R-60 insulation upgrade is not a DIY calculation. It requires a professional, holistic assessment. The next logical step is to engage a qualified expert to analyze your specific situation. For a definitive evaluation of your home’s structural capacity, contact a licensed Professional Engineer (P.Eng.) in your province before proceeding.