Cutting your heating bill by $600 isn’t about buying a new furnace; it’s about treating your house as a complete thermal system and plugging the leaks first.
- Your home’s “building envelope” (walls, attic, foundation) is more critical than your furnace’s efficiency rating for real-world savings.
- A professional pre-retrofit energy audit is the most crucial investment, unlocking the biggest savings and access to grants.
Recommendation: Prioritize comprehensive air sealing and topping up your attic insulation to R-60. These two upgrades deliver the fastest and highest return on your energy investment.
As a certified EnerGuide energy auditor, I’ve seen it countless times: a budget-conscious family in a 2,000 sq. ft. house invests in a brand-new, high-efficiency furnace, yet their heating bills barely budge. The frustration is palpable. They’ve followed the conventional wisdom, but the savings promised on the box never materialize in their bank account. Why? Because focusing only on the furnace is like putting a brand-new engine in a car full of holes. You’re just heating the great Canadian outdoors more efficiently.
The real key to slashing that $600 or more from your annual heating costs lies in shifting your perspective. You need to stop thinking about isolated fixes and start seeing your home as a single, interconnected thermal system. The performance of this system is dictated by its “building envelope”—the shell that separates you from the cold. A drafty window, an under-insulated attic, or a leaky basement header can sabotage even the most advanced heating equipment.
This guide moves beyond the platitudes of “turn down the thermostat.” We will adopt a diagnostic-first approach, just like a professional auditor. We’ll identify the true sources of heat loss, prioritize upgrades based on their “Return on Energy” (ROE), and navigate the landscape of Canadian grants and rebates to make these changes financially smart. By understanding the heat loss hierarchy in your home, you can make targeted, data-driven decisions that deliver real, measurable savings year after year.
This article provides a clear roadmap to achieving significant energy savings. We will break down the essential steps, from identifying hidden leaks to choosing the most impactful upgrades and securing financial help to get the job done right.
Summary: A Strategic Guide to Lowering Your Heating Costs
- Why Your High-Efficiency Furnace Can’t Fix Drafty Wall Cavities?
- How to Spot Energy Leaks with a Simple Candle Test on Windy Days?
- Attic or Basement: Which Insulation Upgrade Pays Back in Under 3 Years?
- The Mistake of Heating Empty Rooms That Spikes Your Hydro Bill by 15%
- When to Switch to a Heat Pump: Analyzing the Breakeven Point in Canada?
- Why You Must Do a Pre-Retrofit Audit Before Buying a Single Roll of Insulation?
- The Top 3 Upgrades That Boost Your EnerGuide Score the Fastest
- How to Get the Maximum $5,000 Grant for Insulation in Canada?
Why Your High-Efficiency Furnace Can’t Fix Drafty Wall Cavities?
The single biggest misconception I encounter is that a high-efficiency furnace is a cure-all for high heating bills. While a modern furnace is an important part of the equation, its Annual Fuel Utilization Efficiency (AFUE) rating is measured in a perfect lab setting. In the real world, its performance is massively constrained by your home’s building envelope integrity. If your house is leaky, the furnace is forced to run constantly to replace the heated air that’s escaping. This is a battle it can never win.
Think of it this way: your furnace generates the heat, but your home’s insulation and air barrier are what keep that heat inside. Air leakage through walls, ceilings, and floors is a major culprit. In fact, for many older Canadian homes, air leakage can account for up to 40% of total heat loss. You are paying to heat air that is immediately replaced by cold outside air. No furnace, no matter how efficient, can overcome that level of waste.
A Natural Resources Canada study underscores this point perfectly. Using advanced modeling, researchers found that a furnace’s real-world performance varies dramatically from its rated efficiency, especially in older homes with poor air sealing. The study confirmed that the home’s envelope—the quality of its insulation and air tightness—is the dominant factor in actual energy consumption. Simply put, a tight, well-insulated home with a standard furnace will always outperform a leaky, poorly insulated home with a top-of-the-line furnace. Fixing the “box” your furnace heats is always the first and most critical step.
How to Spot Energy Leaks with a Simple Candle Test on Windy Days?
Before you can stop heat from escaping, you need to find where it’s getting out. While a professional energy audit uses a blower door test to depressurize the house and pinpoint every leak, you can conduct a simple, effective preliminary test yourself. On a windy day, turn off your furnace and any fans to make the air in your house as still as possible. Then, carefully move a lit candle or incense stick along common leak points.
If the flame or smoke flickers, dances, or is drawn in a specific direction, you’ve found an air leak. This diagnostic-first approach, even at a basic level, helps you build a priority list for sealing. Pay close attention to these common problem areas where I find the most significant leaks during audits:
- Door and window frames, especially where the frame meets the wall.
- Electrical outlets and light switches on exterior walls.
- Baseboards and trim, particularly along outside walls.
- Exhaust fans and vents for your kitchen and bathrooms.
- Recessed lighting fixtures (pot lights) in the ceiling.
- The fireplace damper, which often doesn’t create a perfect seal.
- The attic hatch, a frequently overlooked superhighway for heat loss.
This simple test helps you visualize the invisible problem of air infiltration. While you might not see the cold air, your heating system feels it, and so does your wallet. Sealing these gaps with caulk, weatherstripping, and foam gaskets is one of the cheapest and most effective energy-saving tasks you can undertake.

The image above shows what a professional sees with a thermal camera—the dark blue and purple areas show cold air pouring in around a window frame. Your candle test is a low-tech way of finding these exact same problems. Every leak you find and seal is a direct investment in lowering your heating bill.
Attic or Basement: Which Insulation Upgrade Pays Back in Under 3 Years?
Once you’ve tackled air sealing, the next step is insulation. But where should you invest your money for the fastest payback? For most Canadian homes, the answer is unequivocally the attic. Because heat naturally rises, an under-insulated attic is like having a giant hole in the roof of your thermal system. It’s the single largest source of heat loss in the majority of houses I audit.
Upgrading attic insulation from a common R-20 to the recommended R-60 offers an incredible Return on Energy (ROE). According to data from TakeCHARGE in Newfoundland, a simple attic insulation top-up can save a homeowner an average of $250 per year on heating bills. When you factor in the relatively low cost of blown-in cellulose or fibreglass insulation, the payback period is often just 2 to 3 years. After that, it’s pure savings, year after year.
While basement and crawl space insulation are also very important for both comfort and energy savings, their payback period tends to be slightly longer. The following table, based on typical Canadian building code requirements and retail costs, clearly shows where the smart money goes first.
| Insulation Area | Current Building Code R-Value | Recommended R-Value | Typical Cost per Sq Ft | Average Payback Period |
|---|---|---|---|---|
| Attic (Zone 7-8) | R-50 | R-60 | $1.50-$3.00 | 2-3 years |
| Basement Walls | R-20 | R-24 | $2.00-$4.00 | 3-4 years |
| Crawl Space | R-24 | R-30 | $1.75-$3.50 | 2.5-3.5 years |
As you can see, the attic provides the quickest financial return. It’s the low-hanging fruit of home energy retrofits. Prioritizing your attic insulation upgrade is the most powerful move you can make to start seeing that $600/year savings goal become a reality.
The Mistake of Heating Empty Rooms That Spikes Your Hydro Bill by 15%
After strengthening your home’s building envelope, it’s time to look at how you use your heating system. One of the most common and costly mistakes is zone-blind heating: maintaining the same temperature throughout the entire house, regardless of whether rooms are occupied. Heating a guest bedroom, a formal dining room, or a storage area to the same 21°C as your living room can needlessly increase your heating costs by up to 15%.
This is wasted energy, plain and simple. The solution is to implement zone heating strategies, effectively creating different temperature zones in your home based on usage patterns. This doesn’t necessarily require a complex, expensive HVAC overhaul; it can often be achieved with simple, low-cost adjustments.
Case Study: Mississauga Homeowner Slashes Winter Bills
A homeowner in Mississauga, Ontario, was facing extremely high heating bills in their older, 2,200 sq. ft. home. After an energy audit, they implemented a strategic zoning plan. They closed the vents and doors to two unused bedrooms and a formal living area. By focusing the furnace’s output on the main floor living space and the occupied bedrooms upstairs, and using a programmable thermostat to lower the temperature overnight, they achieved a significant and immediate reduction in their natural gas consumption during the coldest winter months.
By controlling where your heat goes, you take direct command of your energy consumption. It’s about heating the people, not the empty space. This is a powerful behavioural and low-cost technical shift that makes your system work smarter, not harder.
Your Action Plan: Smart Room-by-Room Heating Control
- Install Thermostatic Radiator Valves (TRVs): If you have hot water radiators, TRVs are a must. They allow you to set a specific temperature for each individual room.
- Consider Smart Vents: For forced-air systems, smart vents can be retrofitted to open and close automatically based on schedules or room occupancy, creating true zoning.
- Seal Doors to Unused Rooms: Use inexpensive foam tape or a door sweep to create a better seal on doors to rooms you don’t use, preventing heat from migrating into them.
- Address Knee Walls: In rooms with sloped ceilings (like a finished attic), ensure the “knee walls” are properly insulated and air-sealed from any adjoining cold attic space.
- Program Thermostats by Zone: If you have a home office, program its thermostat (or close its vents) for occupied hours only, letting it cool down in the evenings and on weekends.
When to Switch to a Heat Pump: Analyzing the Breakeven Point in Canada?
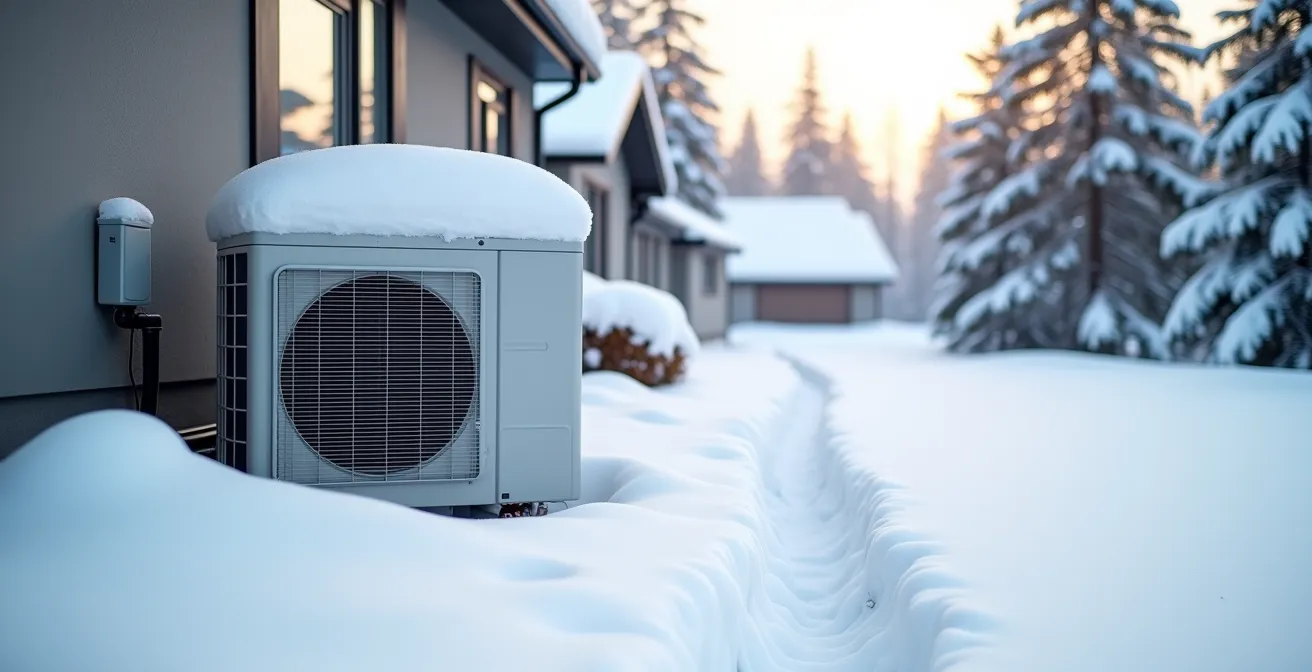
As you improve your home’s envelope, a new question arises: when does it make sense to upgrade your heating *technology*? For many Canadians, the modern cold-climate air source heat pump is the answer. A common myth is that heat pumps are ineffective in the harsh Canadian winter. This is outdated information. Modern units are engineering marvels, capable of operating efficiently in deep-freeze conditions.
In fact, groundbreaking Canadian research has shown that even at punishing temperatures, their efficiency is remarkable. A study published in the prestigious journal *Joule* found that cold-climate heat pumps can maintain a Coefficient of Performance (COP) of around 2.0 even at temperatures of -25°C. This means that for every 1 kWh of electricity it consumes, it produces 2 kWh of heat. This makes it twice as efficient as electric baseboard heaters (which have a COP of 1.0) and often more cost-effective than natural gas, depending on local utility rates.
The breakeven point for a heat pump depends on three factors: the efficiency of your home’s envelope, your local electricity and gas/oil prices, and available government rebates. A well-insulated and air-sealed home is crucial, as it allows you to install a smaller, less expensive heat pump that will run more efficiently. The better your envelope, the faster the payback on a heat pump.
With significant federal and provincial rebates available, the upfront cost can be dramatically reduced. The breakeven analysis should always be done *after* you’ve completed your air sealing and insulation upgrades. By reducing your home’s total heating demand first, you make the switch to a heat pump a much more financially attractive long-term investment.
Why You Must Do a Pre-Retrofit Audit Before Buying a Single Roll of Insulation?
If there is one piece of advice I could give every Canadian homeowner, it’s this: do not spend a single dollar on major retrofits until you’ve had a professional pre-retrofit energy audit performed by a registered energy advisor. Trying to improve your home’s efficiency without an audit is like a doctor prescribing medication without a diagnosis. You might be treating the wrong problem, or worse, creating new ones.
An audit provides a comprehensive, data-driven roadmap for your home. It goes far beyond the simple candle test. Advisors use specialized equipment like a blower door to measure your home’s exact air leakage rate and a thermal imaging camera to “see” hidden problems. These diagnostics reveal issues that are impossible to spot with the naked eye.
Green Communities Canada highlights a perfect example: thermal bridging. This is where heat conducts directly through the wooden studs in your walls, bypassing the insulation in the cavities. An audit can identify this and recommend solutions like adding exterior rigid insulation. Without this diagnosis, you could spend thousands on new windows and still have cold, inefficient walls. The audit provides a holistic plan that ensures all the components of your thermal barrier work together seamlessly.
An audit is not an expense; it’s an investment that pays for itself many times over by preventing costly mistakes. A typical EnerGuide audit will evaluate:
- The precise air leakage rate of your home (in Air Changes per Hour).
- Identification of thermal bridges in walls, floors, and ceilings.
- An assessment of existing insulation levels and R-values in all accessible areas.
- The efficiency and condition of your furnace, water heater, and ventilation systems.
- The performance of your windows and doors.
- A check for any potential moisture or ventilation issues that need to be addressed before adding insulation.
Most importantly, the pre-retrofit audit is the mandatory first step to qualify for most major federal and provincial grants and loans, including the Canada Greener Homes Loan.
The Top 3 Upgrades That Boost Your EnerGuide Score the Fastest
After your audit, you’ll receive an EnerGuide rating and a list of recommended upgrades. The goal is to choose the upgrades that give you the biggest “bang for your buck” in terms of boosting that score, which translates directly to energy savings. Based on thousands of audits, a clear hierarchy of impact has emerged. While every home is unique, three categories of upgrades consistently deliver the fastest and most significant improvements to an EnerGuide rating.
1. Comprehensive Air Sealing: This is, without a doubt, the number one priority. As your audit’s blower door test will show, stopping uncontrolled air leakage is paramount. A thorough air sealing package—addressing everything from the attic hatch to the basement rim joists—can have a massive impact. The Clean Air Alliance notes that a comprehensive air sealing job can lead to a 20-30% reduction in total heat loss. This is the biggest single improvement you can make.
2. Attic Insulation: As discussed earlier, topping up your attic insulation to the R-60 standard is the second most impactful upgrade. It directly addresses the primary vector of heat loss in most homes and offers a very rapid return on investment.
3. Basement/Foundation Insulation: Insulating your basement walls and, crucially, the “rim joist” or “header” area (where the foundation meets the wood frame of the house) comes in third. This not only saves energy but also dramatically improves comfort on the main floor by eliminating cold drafts rising from below.
The following table illustrates how different upgrades typically impact an EnerGuide score relative to their cost. Notice how window replacement, while a good upgrade, offers a much slower return and smaller score improvement compared to the top three.
| Retrofit Type | Typical Score Increase | Average Cost | ROI Speed |
|---|---|---|---|
| Air Sealing Package | 8-12 points | $1,500-$3,000 | Fastest |
| Attic Insulation to R-60 | 5-8 points | $2,000-$4,000 | Fast |
| Basement Header Insulation | 3-5 points | $800-$1,500 | Moderate |
| Window Replacement | 2-4 points | $10,000-$20,000 | Slowest |
Key Takeaways
- Your home’s energy efficiency is a system; treat the “envelope” (insulation, air sealing) before the “engine” (furnace).
- A pre-retrofit energy audit isn’t a cost, it’s an essential investment to guide your spending and unlock grants.
- The fastest financial payback comes from two key upgrades: comprehensive air sealing and increasing attic insulation to R-60.
How to Get the Maximum $5,000 Grant for Insulation in Canada?
Now for the critical financial piece: how to pay for these upgrades. For years, the Canada Greener Homes Grant was the primary vehicle, providing up to $5,000 for retrofits. The program was highly successful; as of January 2024, an update from Natural Resources Canada showed that over 165,000 households had received grants, saving an average of $386 annually on energy bills.
However, it’s crucial to know that as of February 2024, the Canada Greener Homes Grant is closed to new applicants. If you did not already have an active application in the system before the closure, you cannot apply for the grant. But this does not mean the financial help has ended. There are two major avenues still available.
First, the Canada Greener Homes Loan remains active. This program offers interest-free financing from $5,000 to $40,000 to help you undertake major retrofits. An approved pre-retrofit audit is the mandatory first step to qualify. This loan can make larger projects, like installing a heat pump or new windows, much more affordable.
Second, and most importantly, many provinces have their own robust rebate programs that are still running. In many cases, these are administered in partnership with your local utility providers. The funding is still there, it has just shifted to a more regional model. Here are some of the key programs still available:
- Ontario: The Home Efficiency Rebate Plus (HER+) program continues, offering up to $10,000 in rebates for Enbridge Gas customers.
- Quebec: The Rénoclimat program remains a primary source of provincial funding for energy retrofits.
- Nova Scotia: The Home Energy Assessment program, run by Efficiency Nova Scotia, offers rebates and advice.
- British Columbia: The CleanBC Better Homes rebates are active and offer significant incentives for heat pumps and insulation.
- Newfoundland and Labrador: The TakeCHARGE program offers rebates covering up to 75% of insulation costs, to a maximum of $3,000.
Your path to securing these funds and achieving that $600/year saving starts with one action. The first and most critical step is to book a pre-retrofit energy audit with a local, registered energy advisor. This will give you the expert roadmap for your home and is the key that unlocks access to these valuable provincial rebates and the federal interest-free loan.